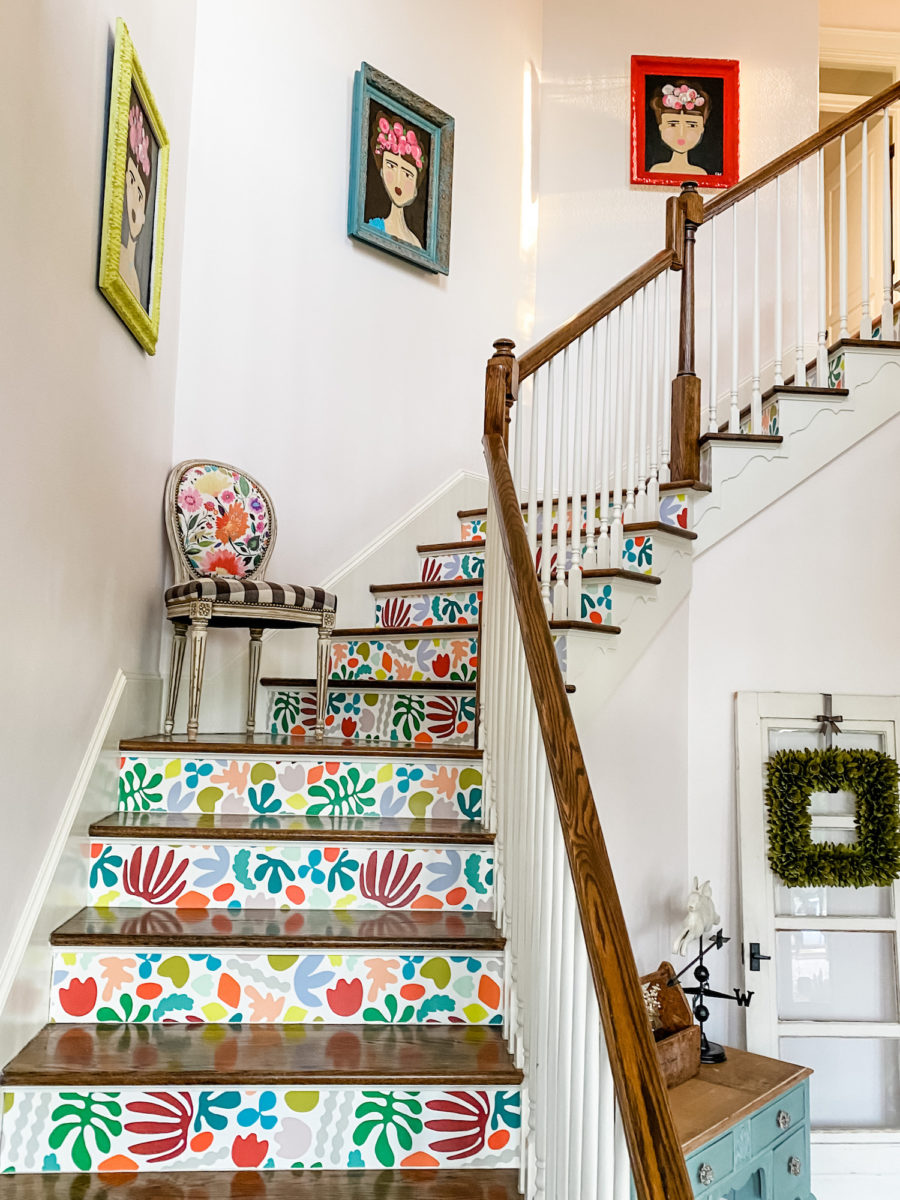
How to Wallpaper a Stairwell
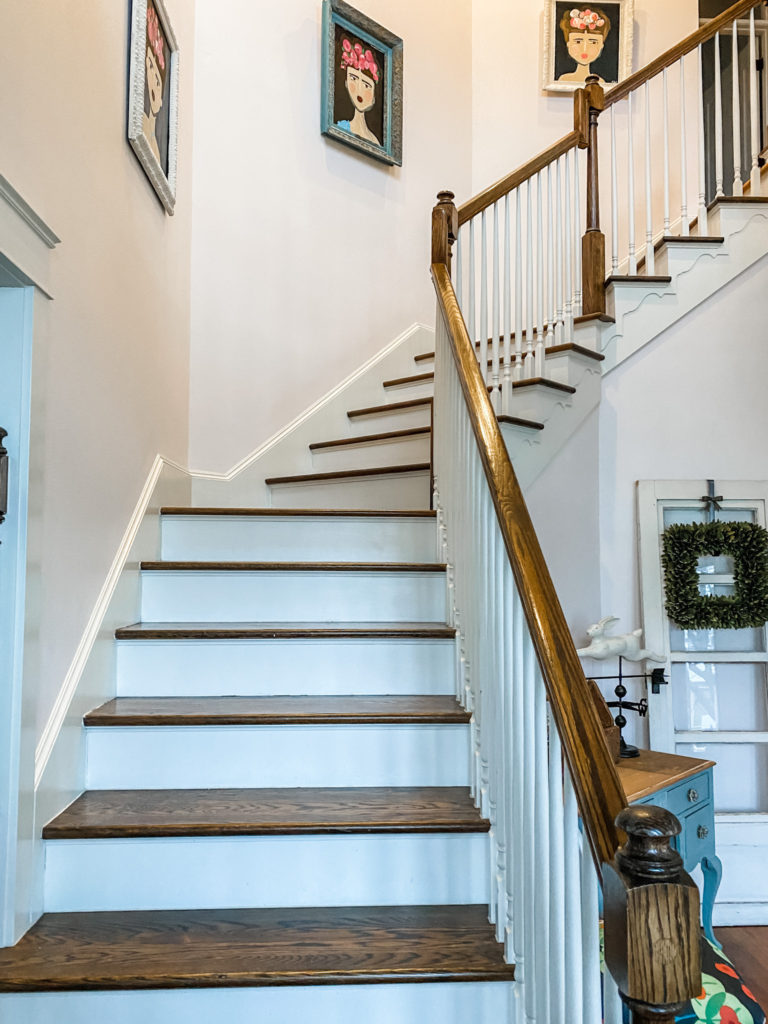
For a long time I’ve been dreaming about adding a little personality to my stairwell. And back in early 2020, I got up the courage and this is how it all went down.
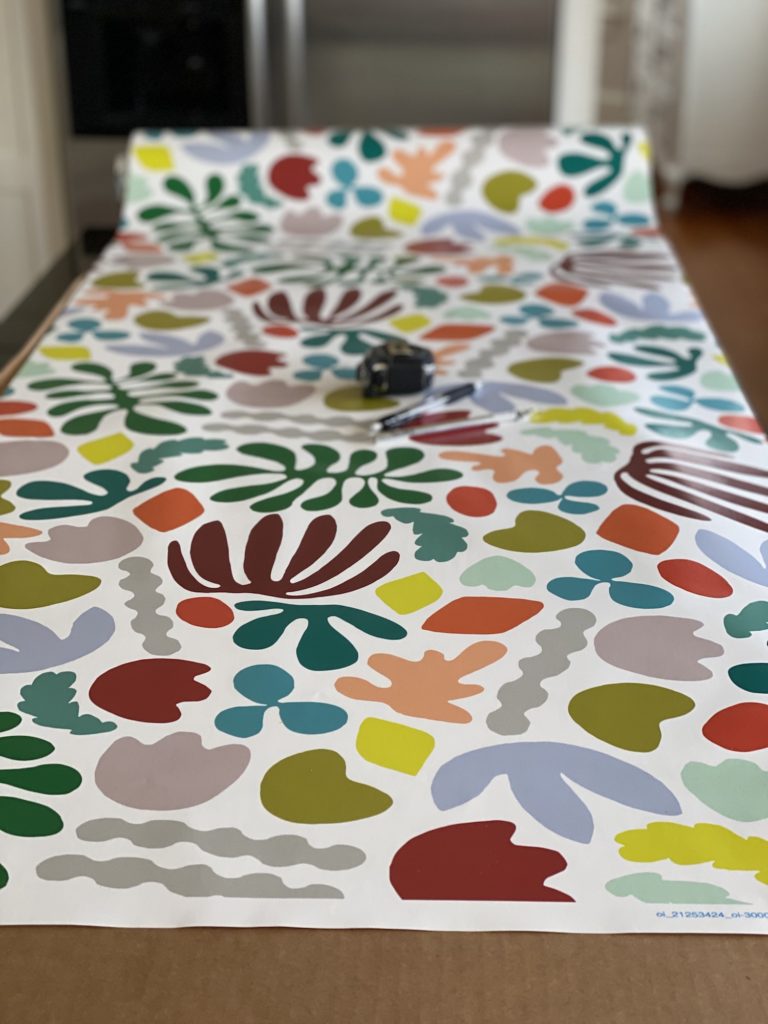
I ordered wallpaper a few weeks before, and there was a lot of consideration and time that went into that decision. Kate Zaremba is the designer behind this wallpaper and you can see this I ordered one by click here.
My stairs are much wider than the wallpaper roll, and I didn’t want the hassle of matching up the pattern to cover the entire step. I knew it would also waste a lot of wallpaper. So first, I had to order a paper that didn’t have a true up and down pattern. I wanted to cut one long strip per step. Therefore, the pattern would need to go up the roll.
Second, I thought I wanted a peel and stick temporary paper, but after careful thought I got pre-pasted wallpaper. Wallpaper is super easy to work with, and you can slide it around to get it in the right spot. You can also easily get the bubbles out as well as the creases. Peel and stick is harder to remove the bubbles, and if you stick it together, you will have a hard time getting it apart.
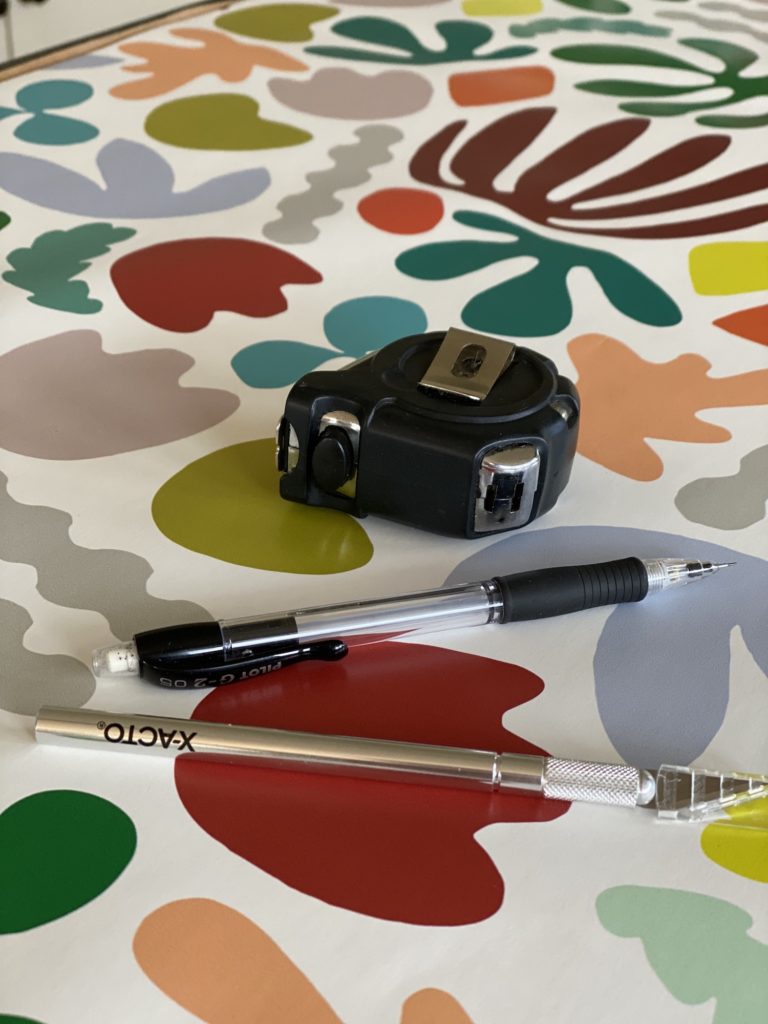
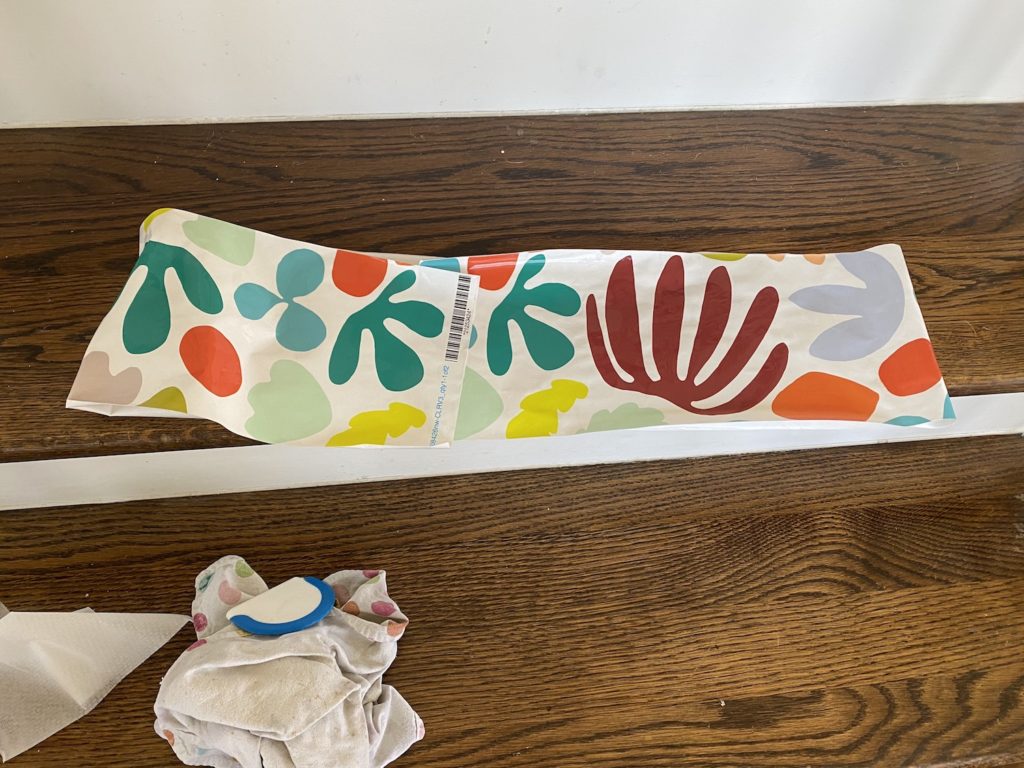
My tools included a pencil, straight edge, and an X-Acto knife. I measured the steps and then went up the roll marking with my pencil the length plus an inch as well as the width plus an inch. I wanted each strip bigger so that when it dried, I could trim it off to get a perfect cut.
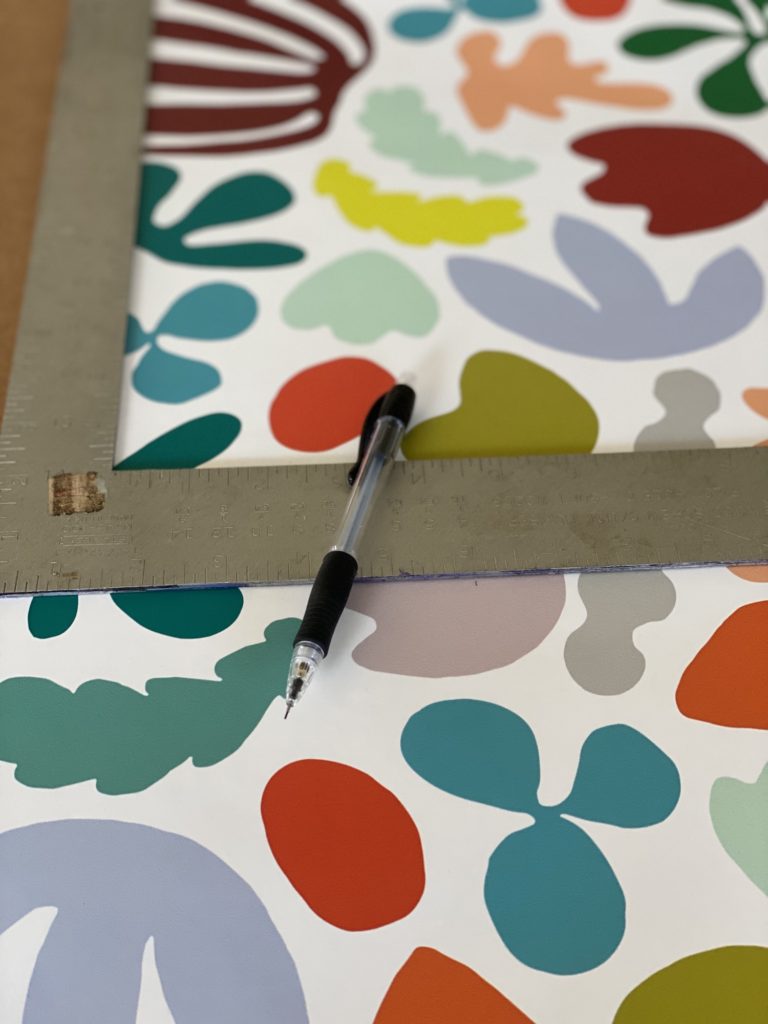
Once a strip was cut, I ran it under water on the paper side and the glue side. I folded it over, took it to my stairwell, and then positioned the paper from left to right on the stair.
The left edge and the top edge of the strip lined up perfectly on my stair. I smoothed it with my hands first, moved it around as needed, and then took a rubber straight edge and gently got rid of the bubbles going from top to bottom, left to right, down the strip.
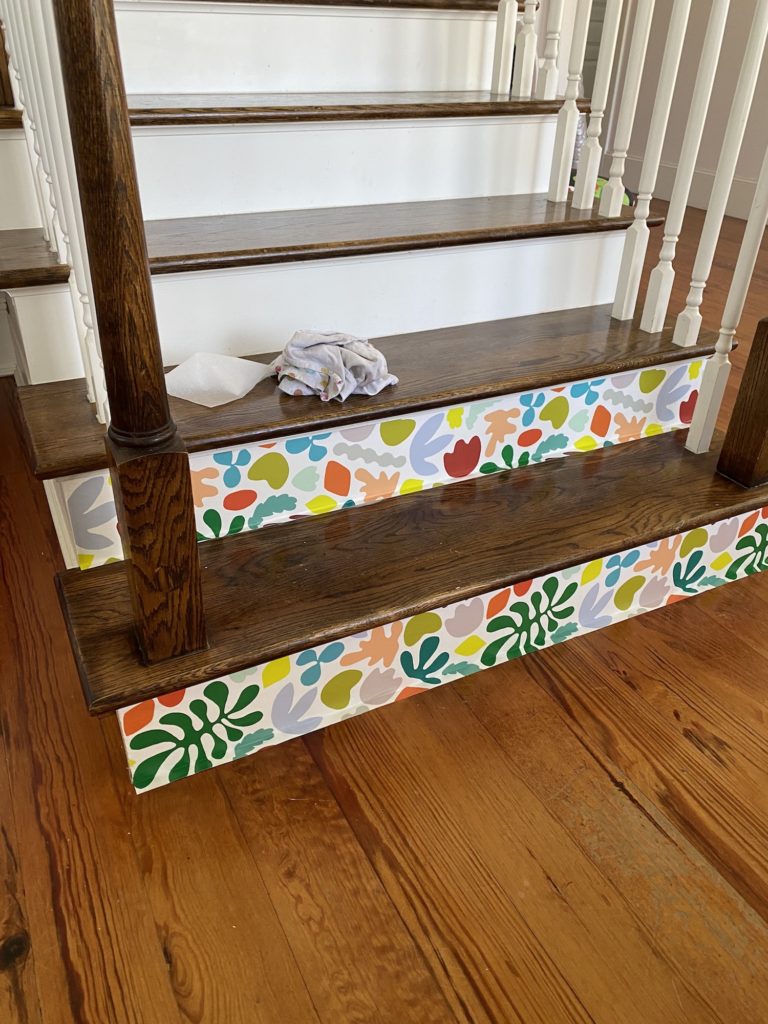
I waited until the paper dried completely (the following morning), then I trimmed the excess paper and cleaned up any remaining glue with a warm, wet rag.
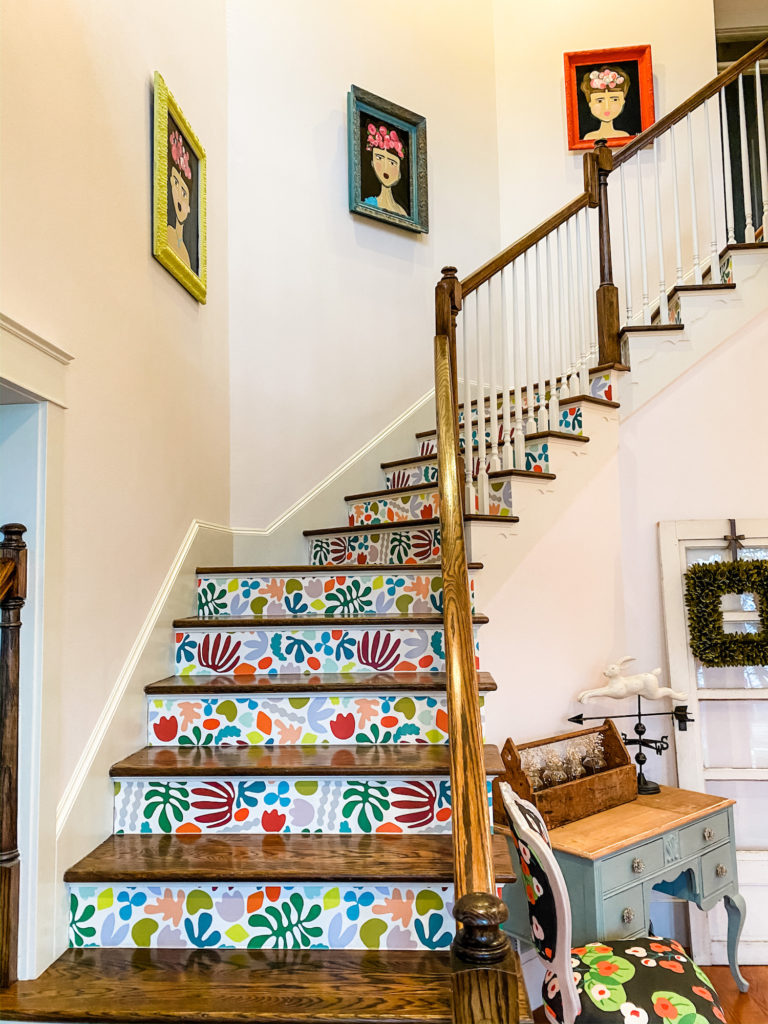
I finished it in 3 hours, and talked on the phone much of that time to my kids. It’s super easy if you measure correctly. And the results??? Let’s just say I’m so happy I took the 3 hours to do this. It gives my stairwell a big dose of personality.
The latest news is that my home has been featured in HGTV Magazine for March/April 2022! And this stairwell pic above is on the table of contents…how fun is that? You can read the entire article by clicking here. And if you want to see my latest YouTube video on this topic, click here to watch!

Check out my online courses to spark your creativity and upgrade your joy, starting today!


10 Best Statement-Making Fabrics from Spoonflower