
Small Space, Big Personality: How to Add Scalloped Trim to a Chair Rail
Small spaces do not need less. They need more of the right things.
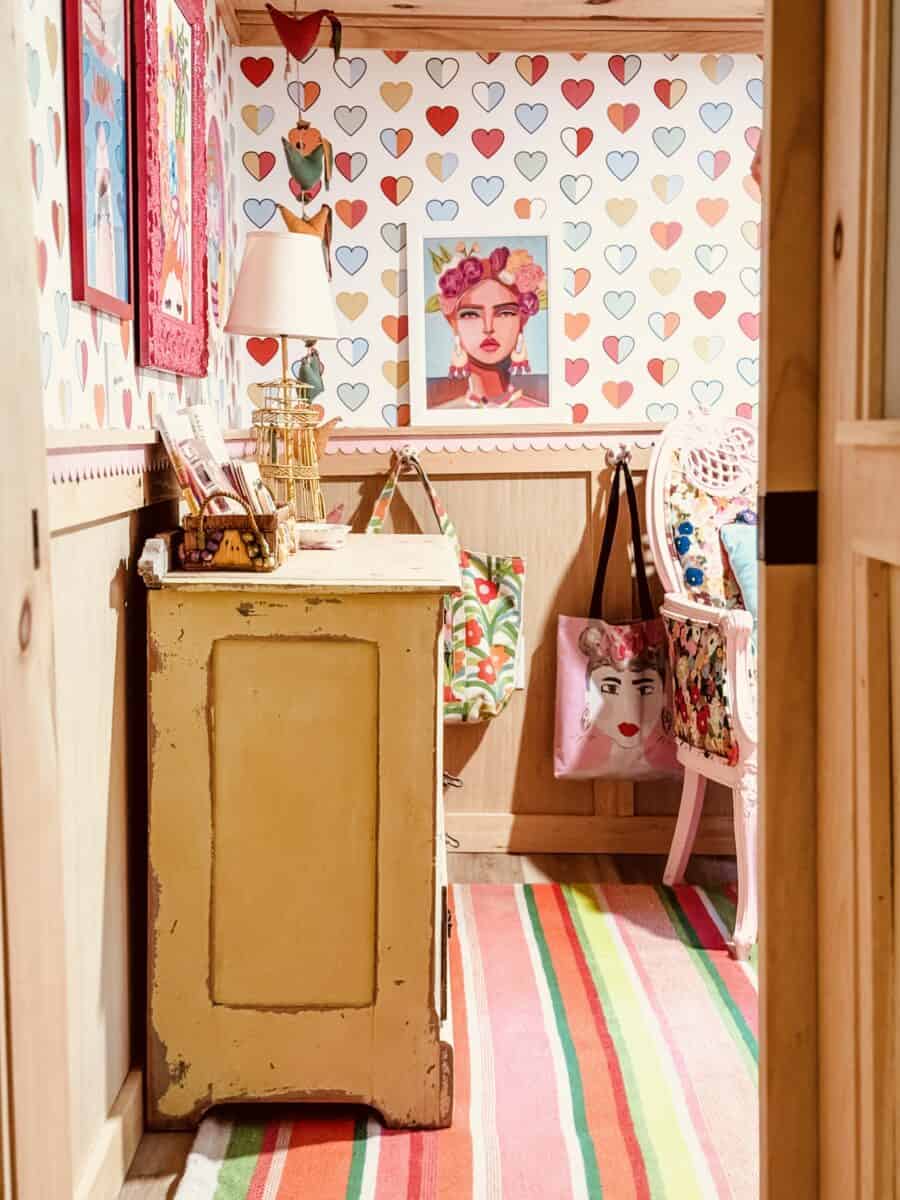
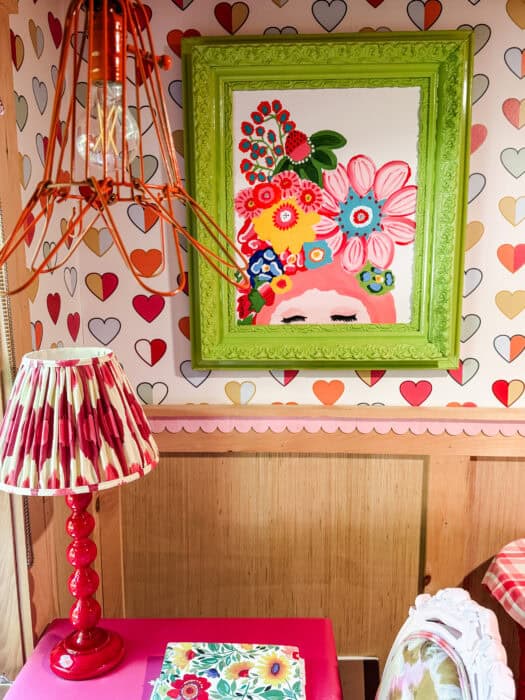
That is exactly what happened when I gave my closet office a full refresh this summer — colorful heart wallpaper, a gallery wall that makes absolutely no sense on paper but makes me smile every time I look at it, a hot pink desk, a striped rug that refuses to be ignored — and one detail that surprised more people than anything else in the room: a pink scalloped trim along the chair rail.

It is the kind of detail nobody expects. And it is the thing that gives the whole room a point of view. Here is the good news: it was so easy to do, and I am walking you through every step so you can add it to your own closet office, home office, or any small space that is ready for more personality.
Inside My Closet Office Makeover
Before we get to the tutorial, a little context. This closet office started as a plain, forgettable room — the kind of awkward small space most every house has. I did the first makeover two years ago and it was cute, but now, it has become one of the most joyful rooms I have ever created. [Want the full room tour?]
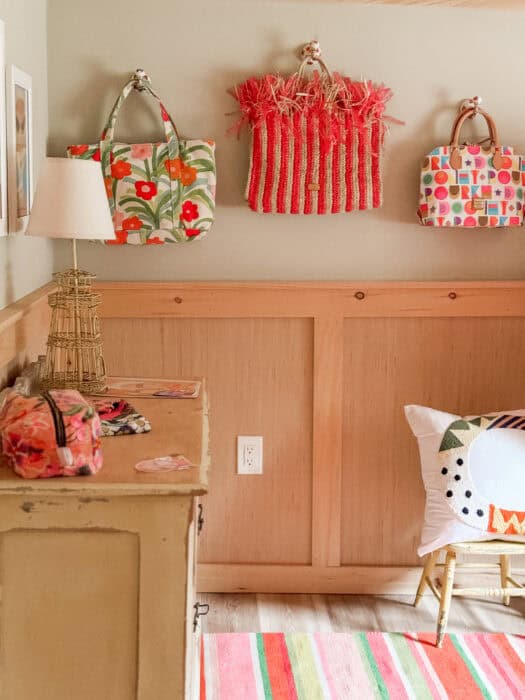
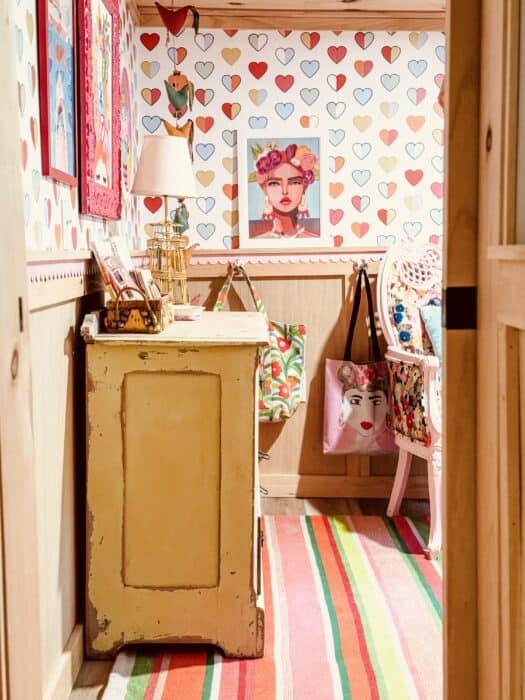

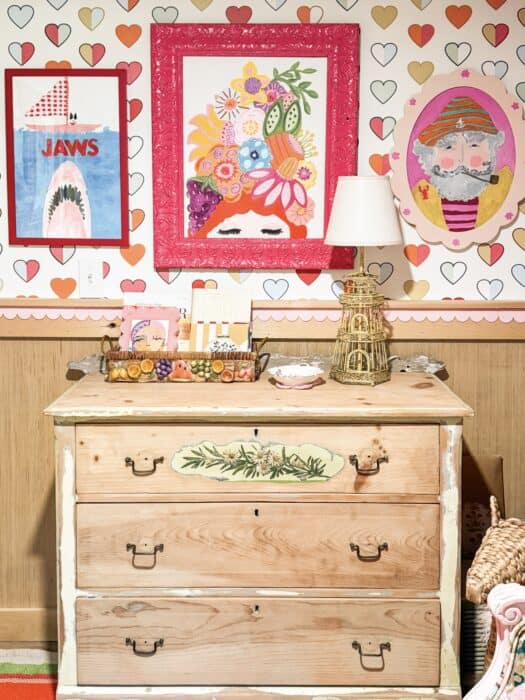
Heart wallpaper from Katie Kime set the tone. A gallery wall of paintings that share nothing in common except that they make me happy came next. Then a pink floral chair, a hot pink desk, and a striped rug that refuses to be ignored. The scalloped trim on the chair rail was the last detail, and it is the one people ask about most.
Why Scalloped Trim Is the Detail Your Room Is Missing
A chair rail on its own is fine. A chair rail with a scalloped edge is a moment. It is the kind of unexpected detail that makes a small or awkward space feel intentional instead of just small. Safe makes small feel smaller. Personality makes small feel like it was designed on purpose — and scalloped trim is one of the easiest, most affordable, beginner-friendly ways to add that personality without a single power tool. No carpentry skills, no electrical tools, and no big budget required — just trim, paint, and adhesive.
What You’ll Need
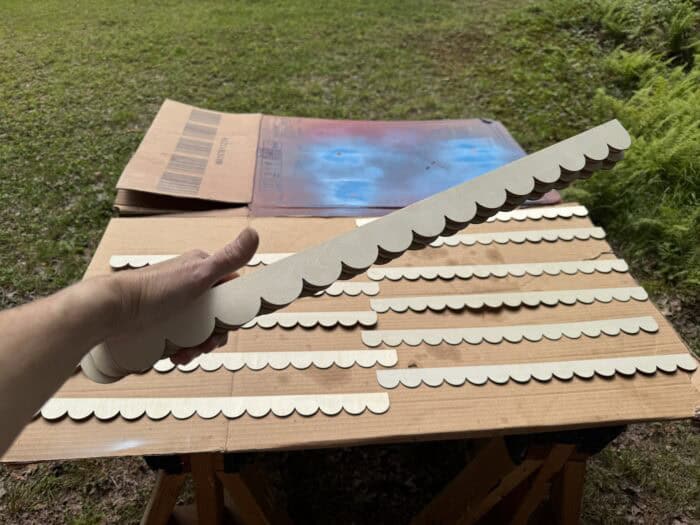
- Scalloped trim (I chose the longer strips to minimize seams)
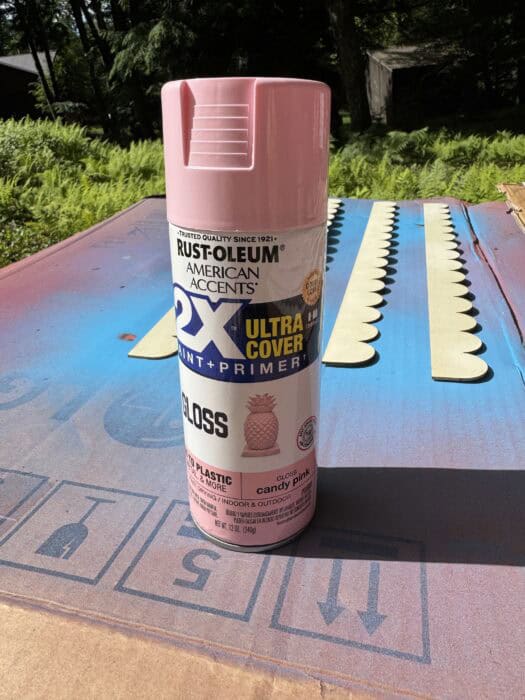
- Spray paint in your color of choice (I used Rust-Oleum in pink)
- Liquid Nails adhesive
- A measuring tape
- A razor saw (for any strips that need trimming to fit)
How to Add Scalloped Trim to a Chair Rail: Step by Step
1. Order your trim. Go with the longer strips if they are available — fewer seams means less measuring and cutting later.
2. Spray paint the strips. I used Rust-Oleum in pink and gave it a light, even coat. Let it dry completely before moving on.
3. Measure your chair rail. Use a measuring tape to map out where each strip will land before you commit to any glue.
4. Cut strips to fit, as needed. A razor saw makes quick work of this — the cuts were genuinely easy, even around corners.
5. Glue each strip with Liquid Nails. Apply the adhesive to the back of the strip, press it into place along the chair rail, and hold for about 30 seconds before moving to the next strip.
6. Repeat until the whole rail is covered, then step back and let it make you smile every time you walk in. Just look at the before and after below…it really adds something special.
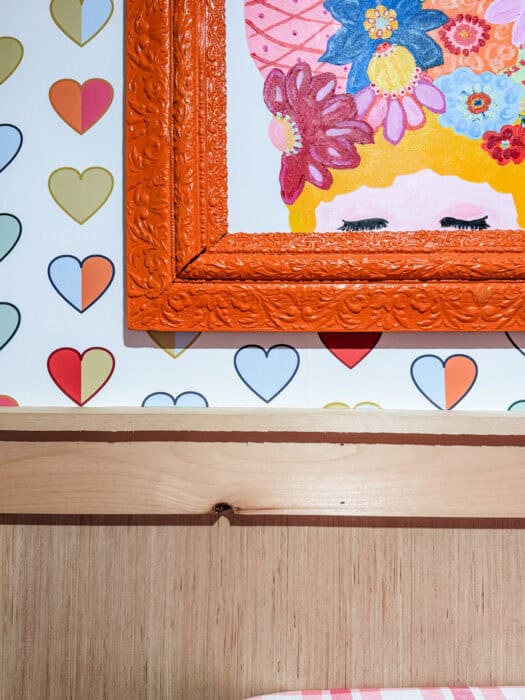

Pro tip: Do all of your painting before you glue anything to the wall. It is much easier to spray paint flat strips on a drop cloth than to paint in place once they are installed. And if your chair rail is not one continuous straight run — mine corners to work around — measure each segment individually rather than cutting all your strips up front. It saves you from mismatched seams later.
7 More Ways to Use Scalloped Trim to Add Personality
Once you see how easy this is, you will start looking for more places to use it in your own small space decor. A few ideas beyond the chair rail — and if you try one, I would love to see it.
- Doorway trim — outline a door frame for an unexpected, custom-millwork look.
- Furniture edges — add it to the front of a dresser, nightstand, or console table.
- Mirror or picture frames — glue scalloped trim around a plain frame for an instant upgrade.
- Headboards — trace the top edge of a headboard for a scalloped silhouette.
- Closet doors — dress up flat, builder-grade closet doors with a scalloped border.
- Shelving edges — line the front edge of open shelves or a bookcase.
- Cabinet fronts or a kitchen island toe-kick — a small, high-impact upgrade in a space you use every day.
Frequently Asked Questions
What is scalloped trim made of? Most scalloped trim is made from lightweight wood or MDF, which makes it easy to cut, paint, and glue into place without special tools.
Can you paint scalloped trim any color? Yes. Spray paint is the easiest method for full, even coverage — Rust-Oleum works well because it is paint and primer in one and comes in many colors.
Do I need special tools to cut scalloped trim? No. A basic razor saw and a measuring tape are enough to trim strips to fit around corners, outlets, or doorways.
Does scalloped trim work in small spaces? It is one of the best upgrades for a small or awkward space. Small rooms do not need to be minimized — they need to be maximized with the right unexpected details, and scalloped trim is exactly that kind of detail.
How long does this project take? For a single chair rail, plan on an afternoon: time to paint and dry the strips, then glue and install them.
Your Turn
Is a scalloped chair rail worth it? Absolutely. The installation process was about an hour and my husband couldn’t believe I did it so quickly! Where would you add scalloped trim first?

Check out my online courses to spark your creativity and upgrade your joy, starting today!





10 Best Statement-Making Fabrics from Spoonflower