Camper Revamper
A couple of months ago I showed you my design plans for Willie, our camper. (You can read that by clicking here.) Since the camper was in great condition when we got it, the 16 footer just needed a revamp. And so I’ve been busy painting, wallpapering, and changing out hardware. Well, Willie is finally ready for the big reveal.
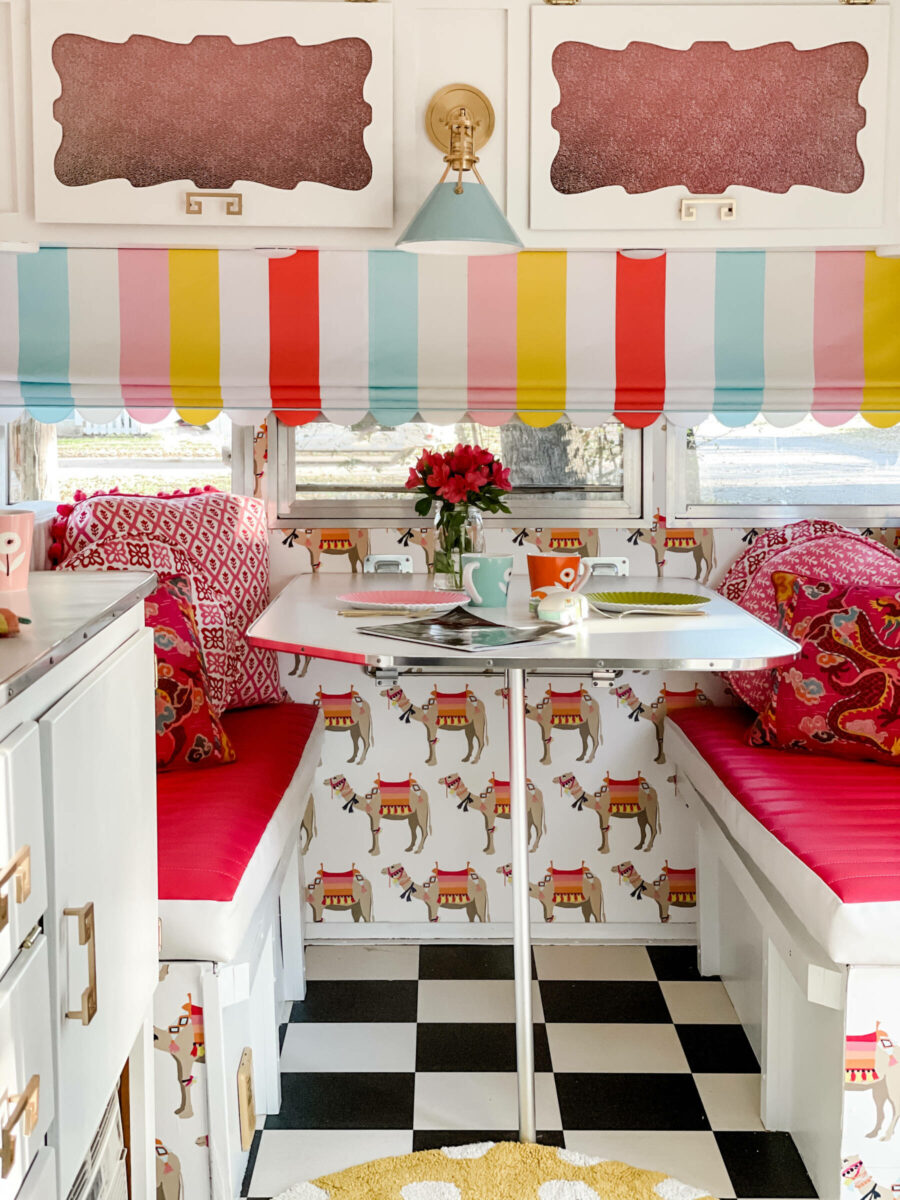
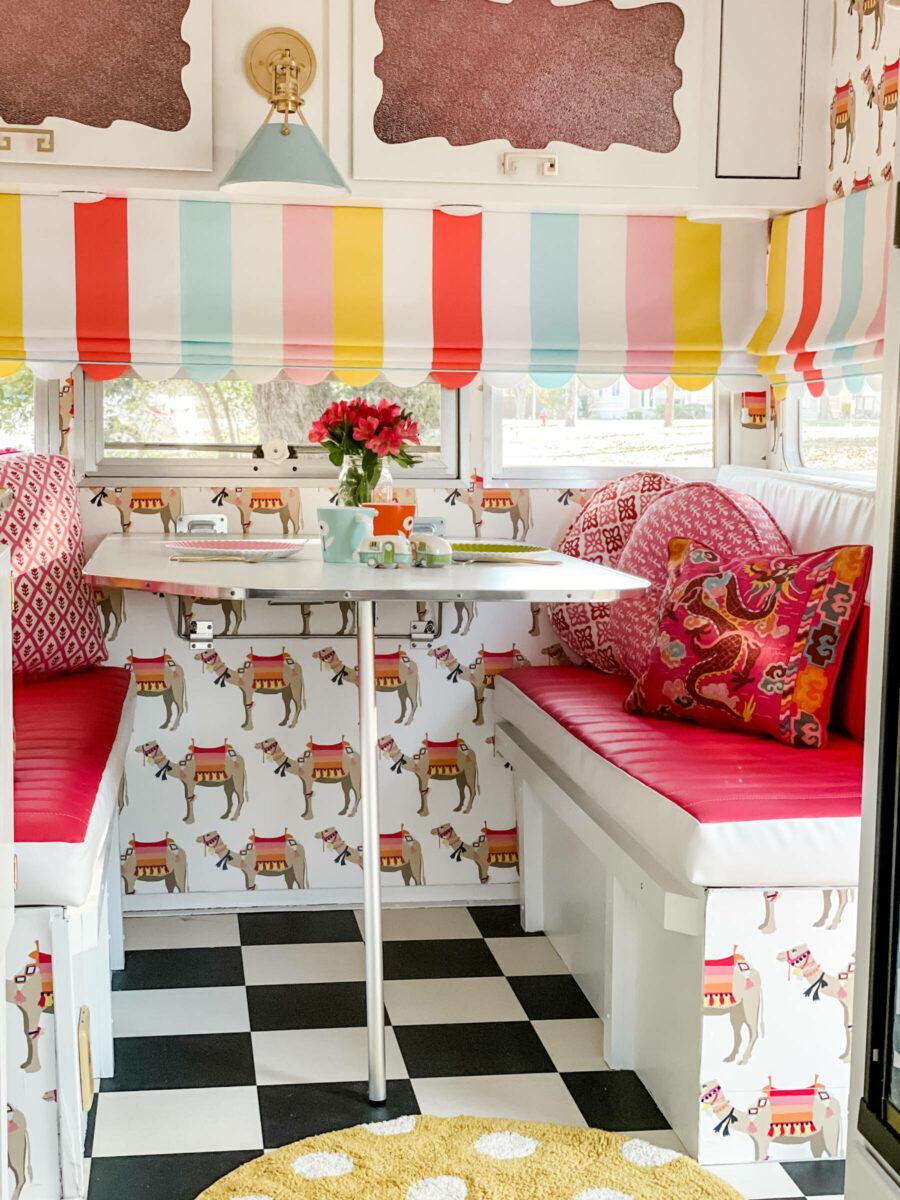
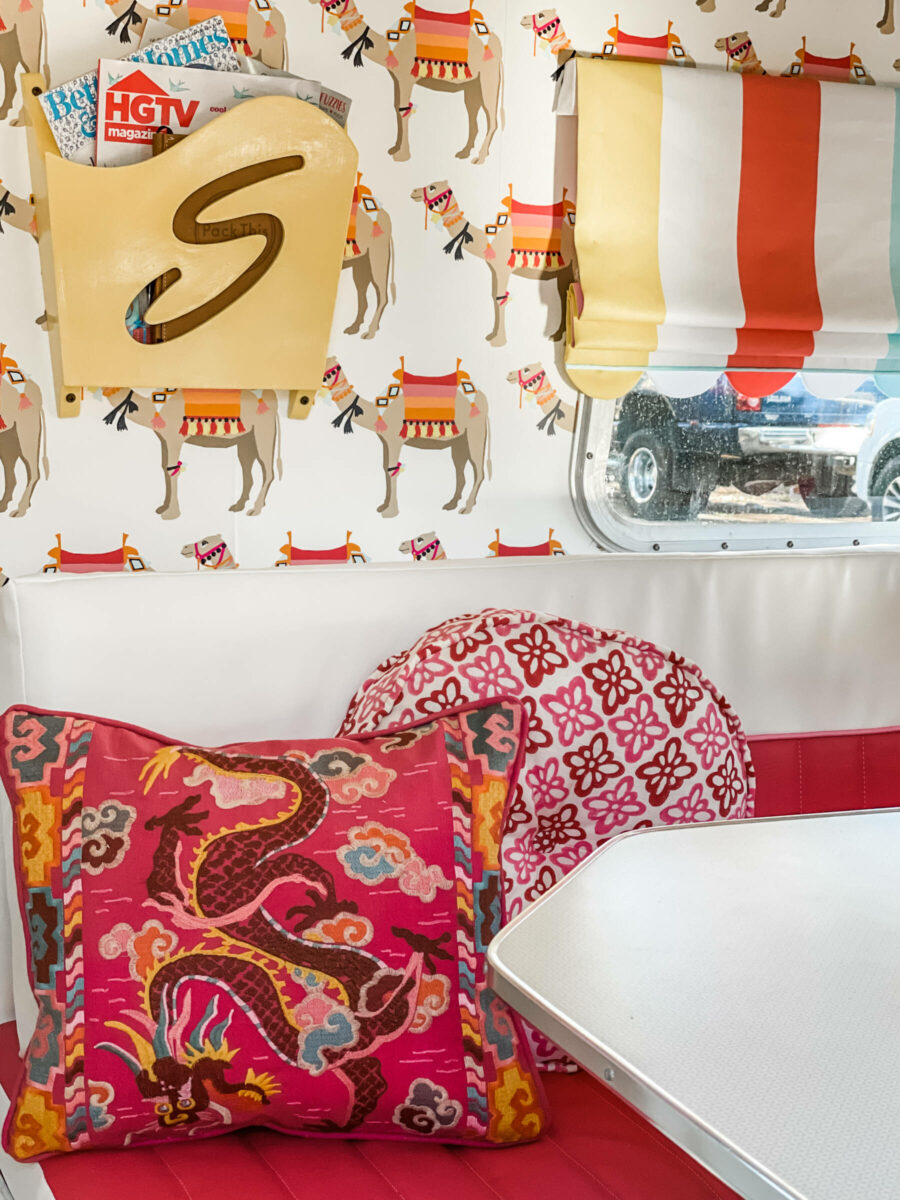
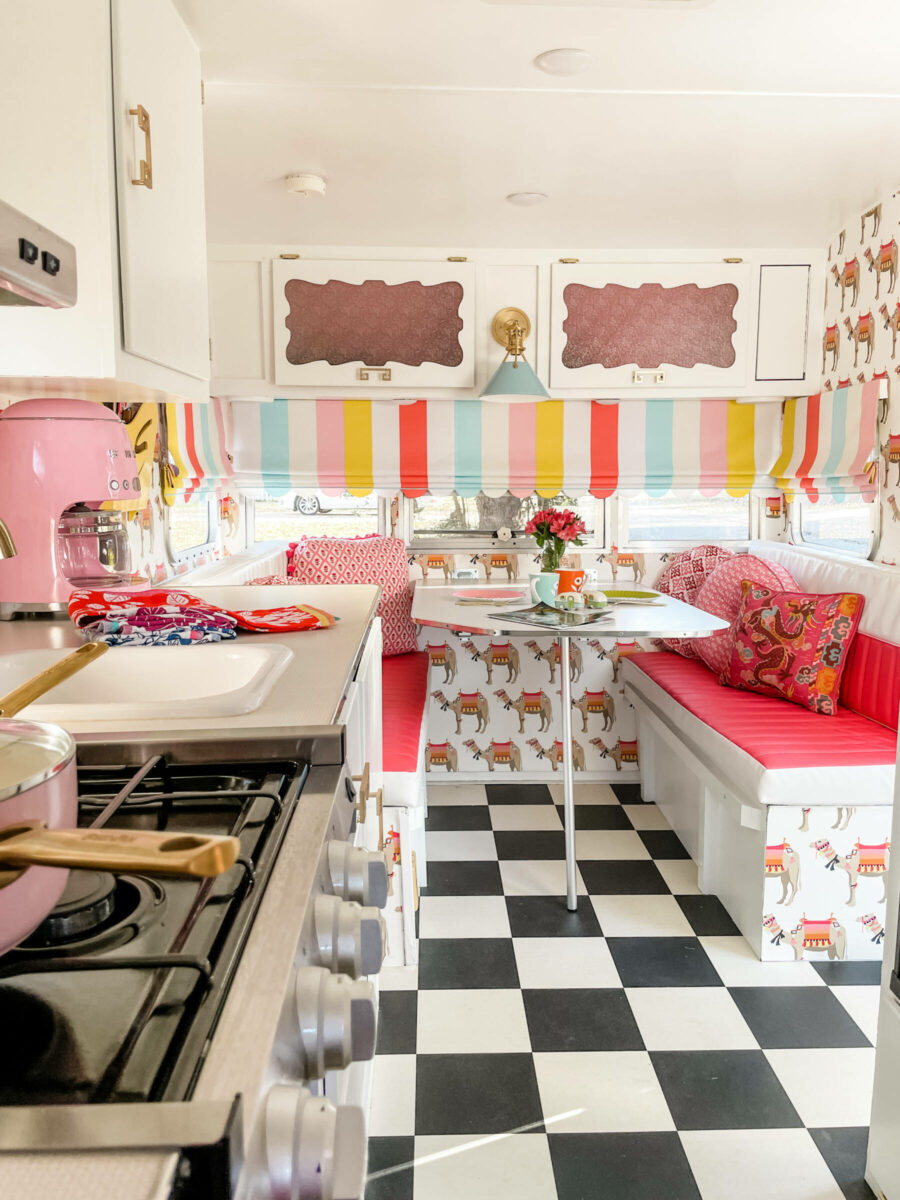
The dining space is the heart of the camper. When sitting inside, that’s where we spend our time reading, writing, eating, and watching our dvd’s of Seinfeld and The Godfather series. It also easily converts to a bed. The table collapses and the cushions cover the hard spaces.
The existing cushions were aging and cracked, so they needed to be recovered. My friend Laura at South Austin Upholstery did a fabulous job recovering those in a red, white, and pink heavy duty vinyl from my local upholstery supply store.
Laura also designed my pillows, which were the icing on the cake for my camper. The pillow fabrics are all from Schumacher. Three of them are hand-blocked prints by designer Molly Mahon. Buti was my favorite print because it has such a fun red and pink design (the large square pillow), and it worked perfectly with the vintage tassel trim I had on hand.
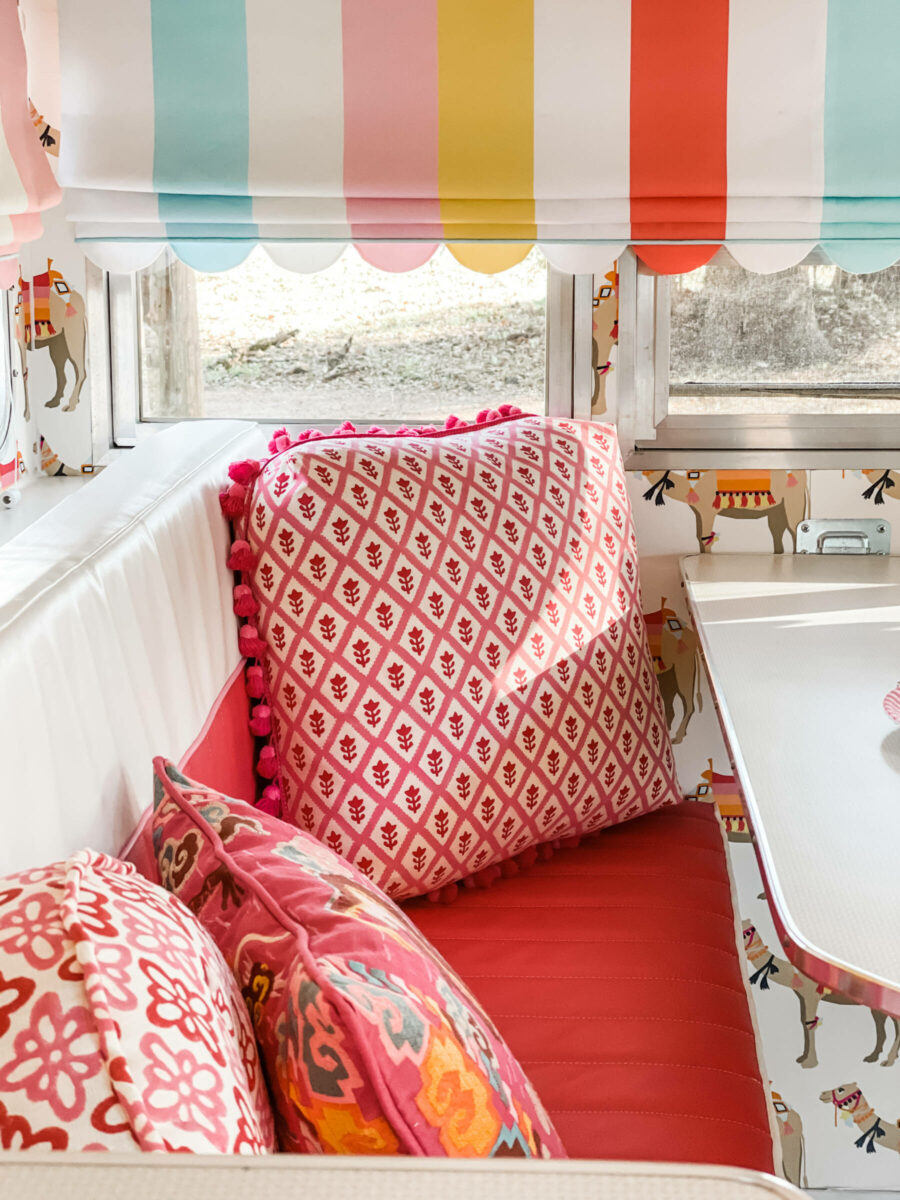
The other two Molly Mahon fabrics included Bagru (the circular one in pink/white…which also comes in blue/white) and Patee (the circular one in red/pink). I’m fascinated by her blocking technique and hope one day to create my own.
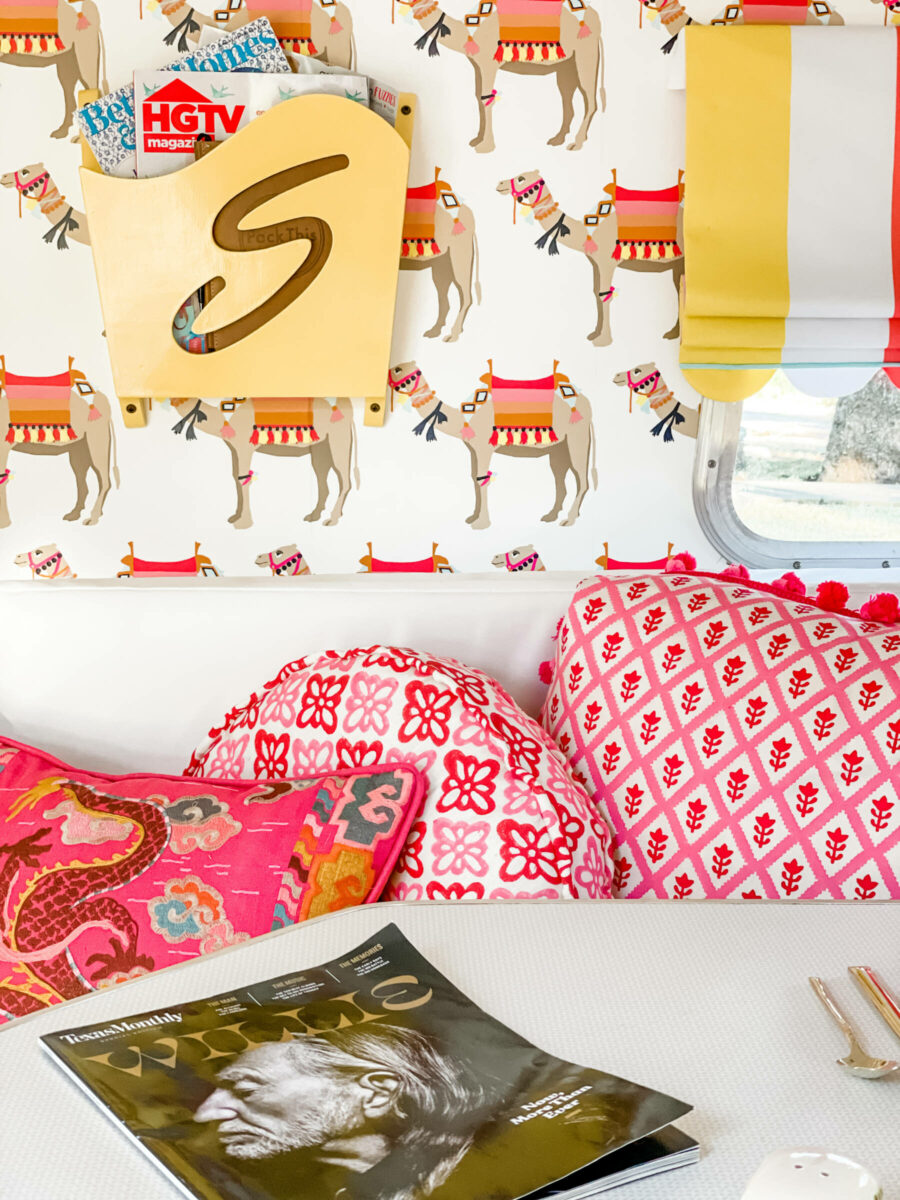
The dragon in the room is Schumacher’s Lotan Dragon Embroidery. Seriously, who doesn’t need a good dragon to mix things up a bit???

And this embroidery does not disappoint. The thread colors are rich and the design is interesting. Plus, the pillows can face up or down!
The bench in the back also got some pillows to zhuzh it up a bit.

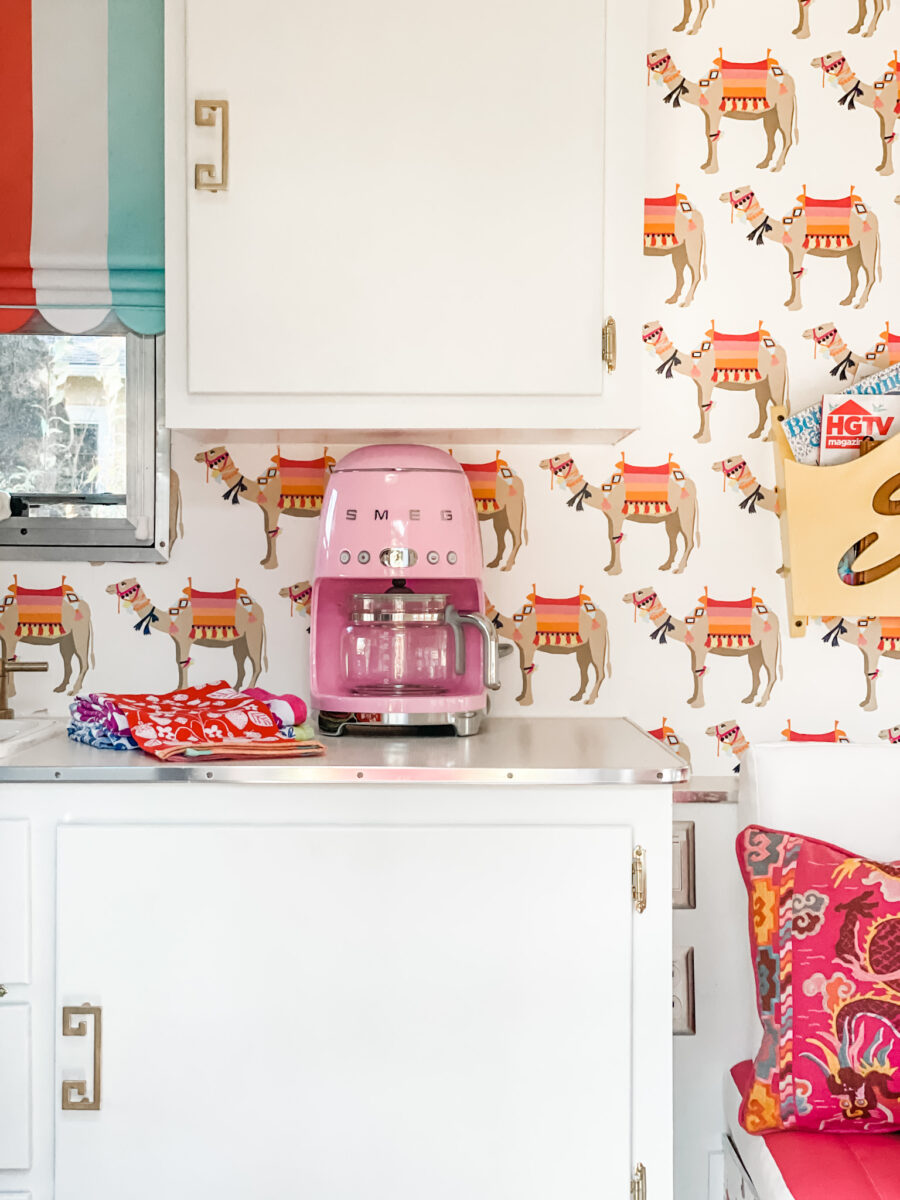
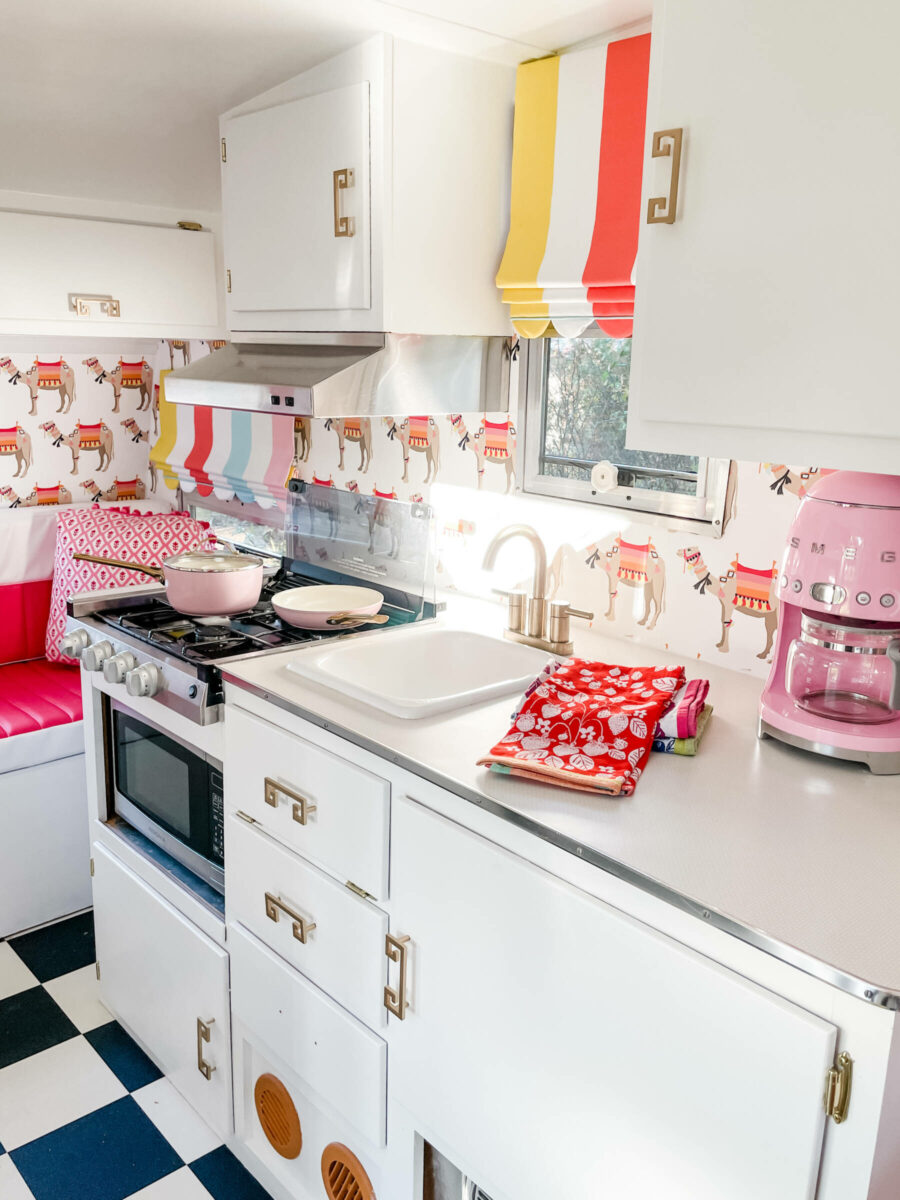
Because every dragon needs a friend, I choose the camel wallpaper from Katie Kime. The whimsical camels set the color scheme for the camper with red, pink, orange, yellow, and blue.
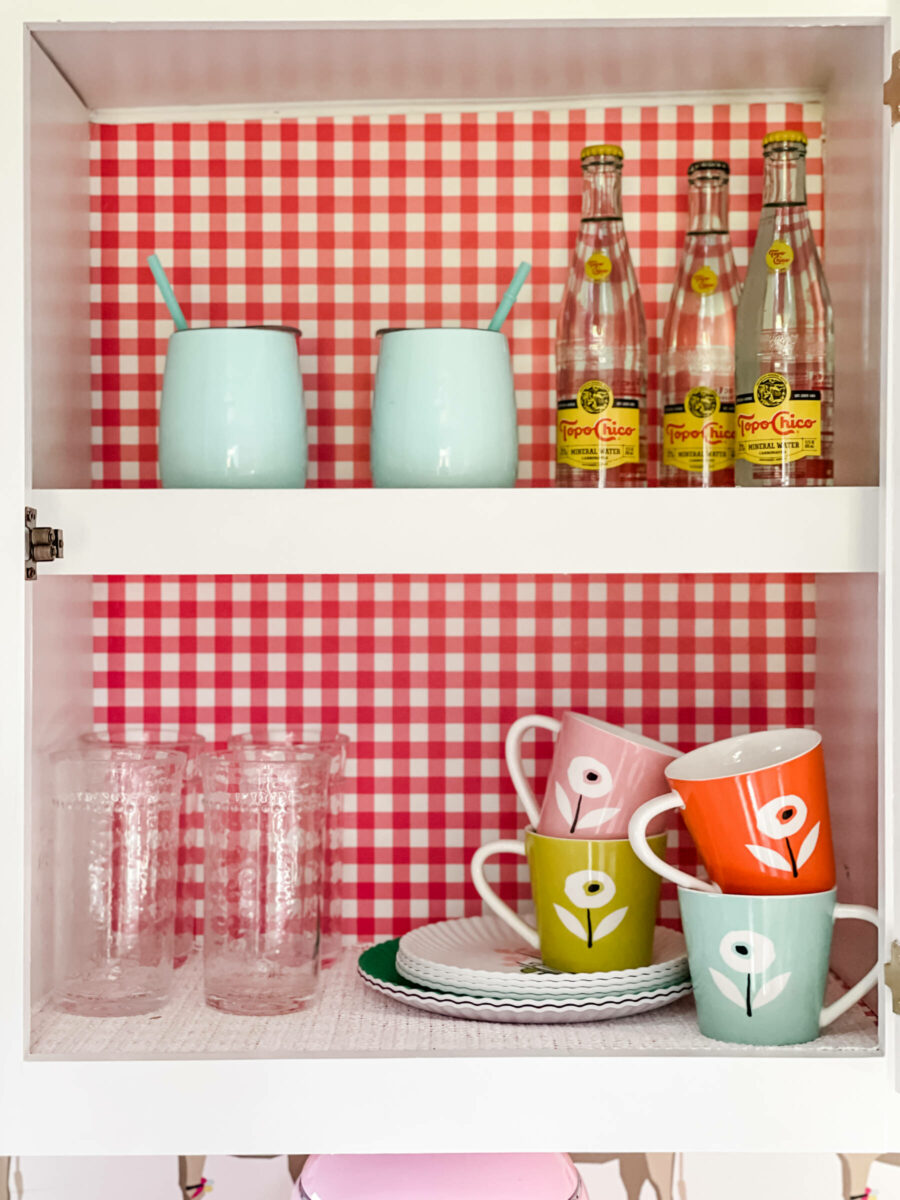
I added a cute check wallpaper from Spoonflower inside my cabinets. I get asked a lot if I use peel-and-stick paper, and the answer is no. Wallpaper, whether it’s pre-pasted or not, is so much easier to manipulate and move around, so it’s my medium of choice.
Funny story…while I wouldn’t consider myself “a professional” at all, I do know how to wallpaper. However, this project was one that I really didn’t want to do because the camper had so many small spaces which required lots of cuts. I called a professional who came out to look at the potential project and turned me down for the very same reason! So, I put on my big girl pants and did it myself. It took three days, but I did it!
The background of the camel wallpaper was a bright white, so I took that cue and painted the entire inside of the camper in an un-tinted Sherwin Williams white paint. It was the best match and really lightened up the space.

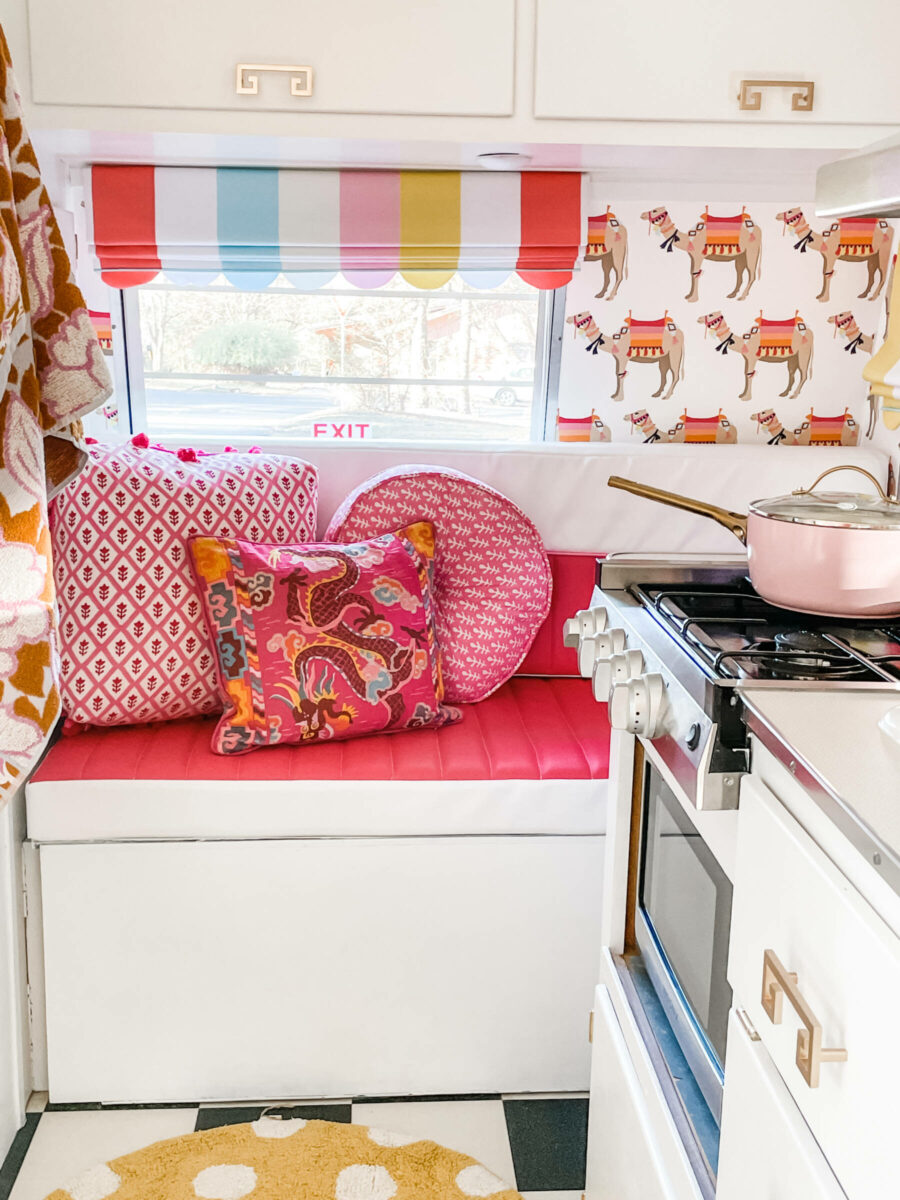
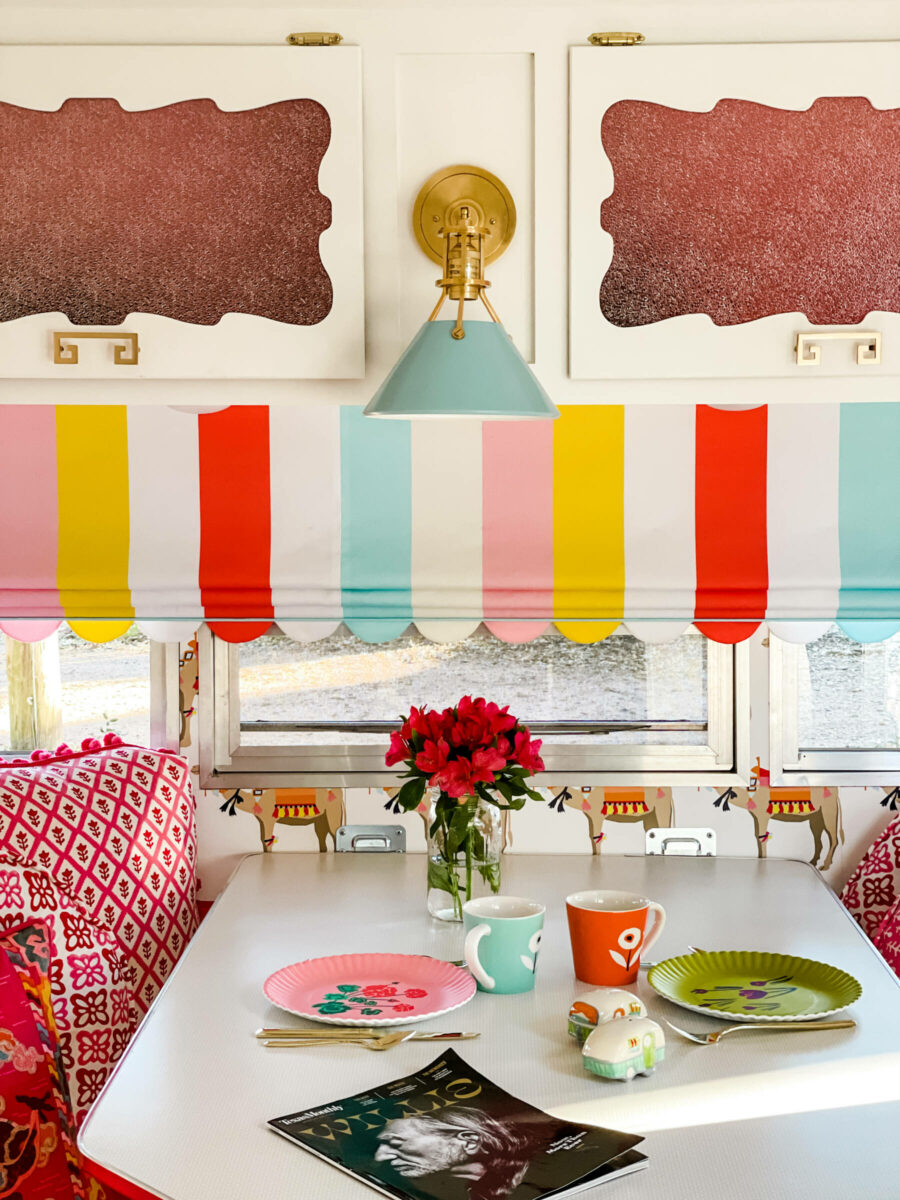
One of the best decisions was to replace curtains. Most campers have fussy curtains that are hard to open and close, and I needed something that would function for privacy. But with so much going on inside, I also wanted a cleaner look. My friends at Plush Fabric Home Interiors designed these adorable roman shades that work like a dream. The scallops and blue cording at the bottom were the “extra” the shades needed to set them apart.
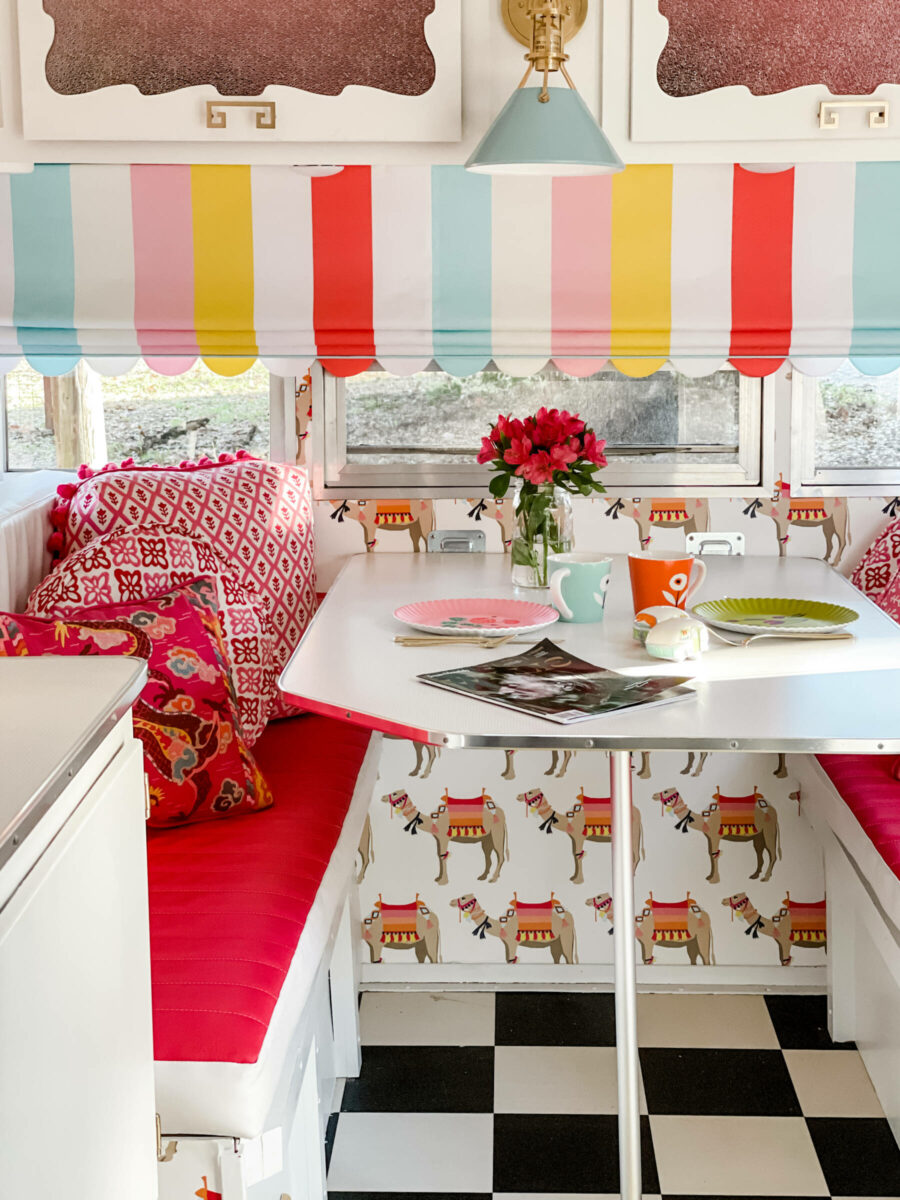
We used the cottage stripes fabric from Katie Kime. You can see that there’s one long roman shade over the dining space and two small ones on either side.
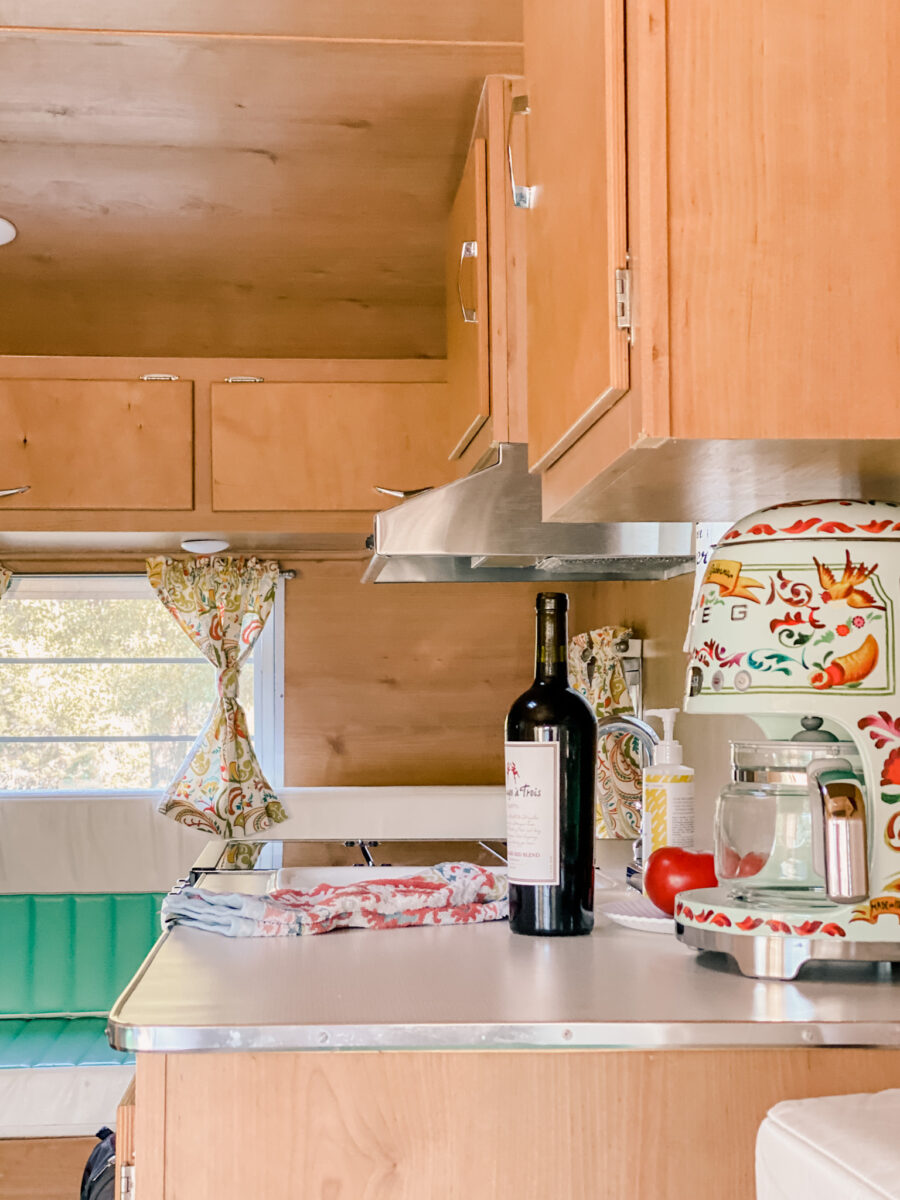
The kitchen has a tall window, too.
And, there’s two small windows in the back of the camper. Not only do they all raise and lower with ease, they are fully lined so that it’s dark inside when you lower them and we can have our privacy when camping.
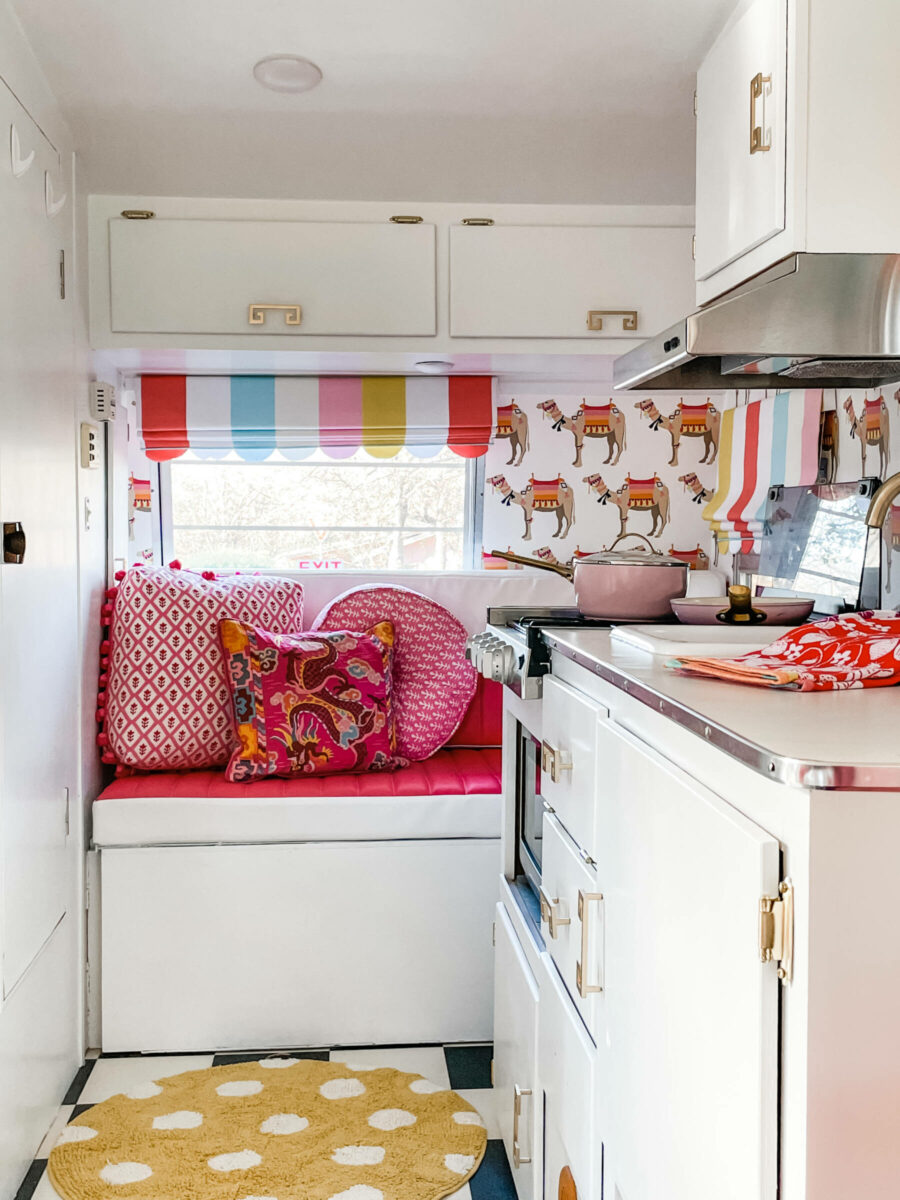
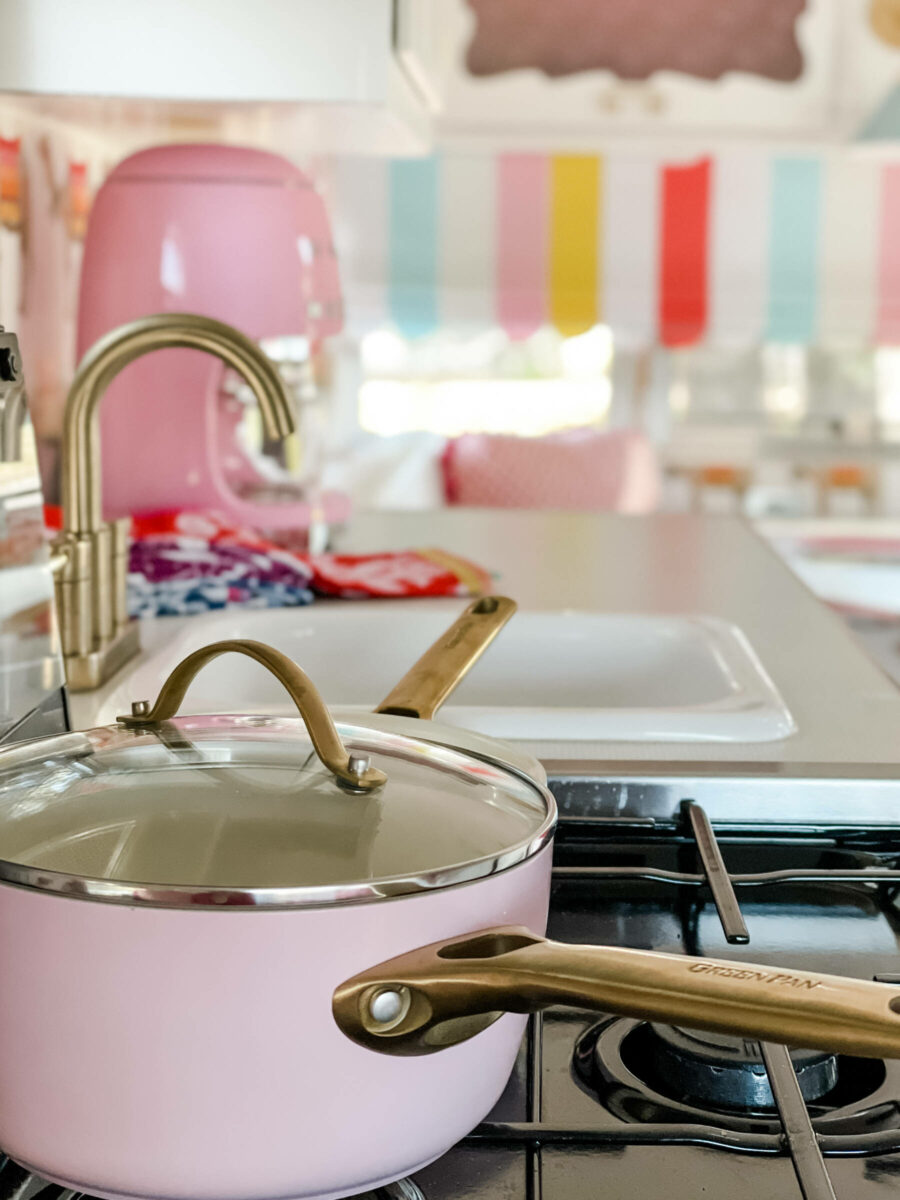
Then, with the main part of the camper designed, I focused on the accessories. From my pink coffee maker to my pink pots and whimsical dishes, I simply layered more color in small bits and pieces.
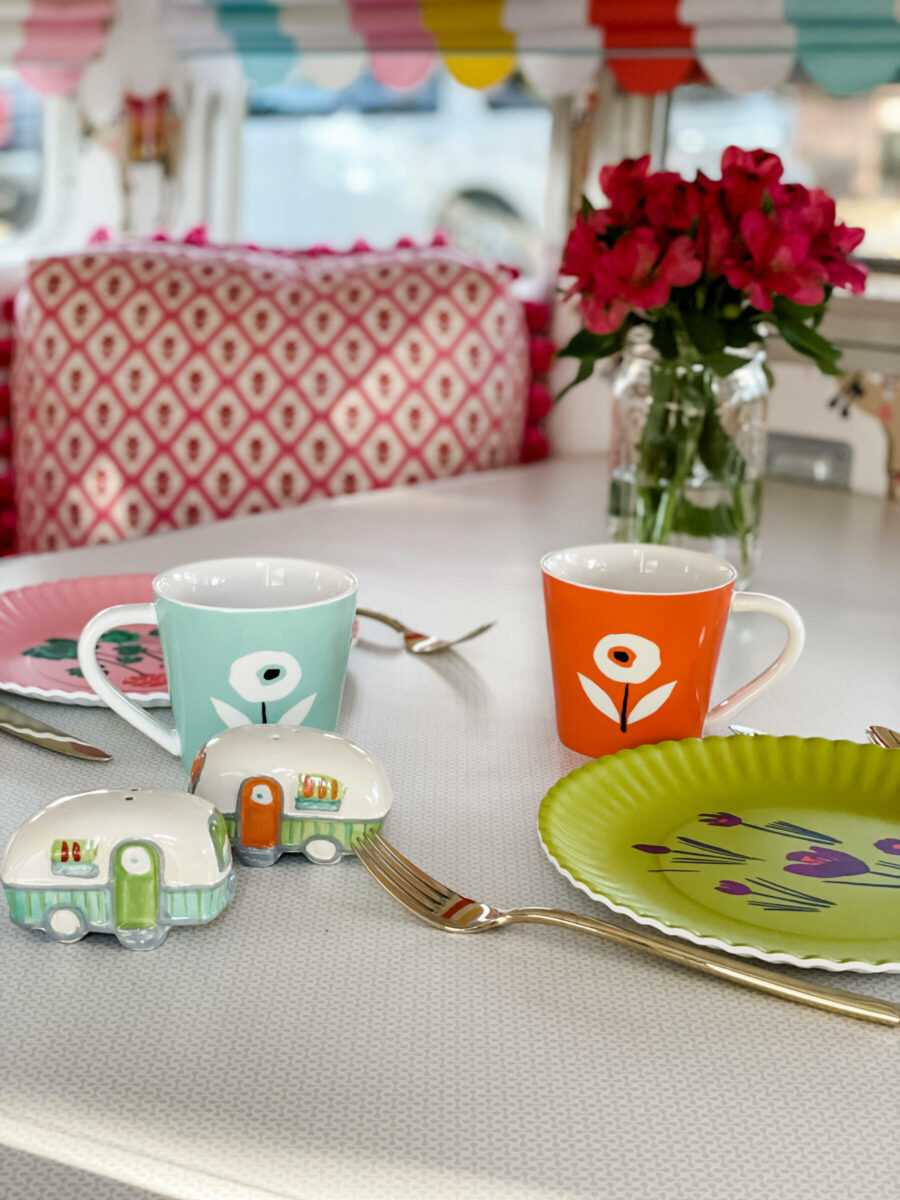
The melamine plates came from an Etsy shop, MishaZadeh. She also designed the coffee cups, which were too cute to pass up! Believe it or not, the salt and pepper shakers were the first thing that I bought for the camper. And I purchased the gold flatware on Amazon last year. Who says we can’t use gold flatware in a camper?
The light fixture over the dining table was bent and rusted, so I replaced it with this blue and brass fixture from Foundry Lighting. It’s the perfect color to complement the space.
You can find see more pictures in my latest Camper Revamper Resource Guide where everything will be listed. You can download it for free by clicking here! And next week I’ll tell you more about the history of this camper and the adventures we’ve already experienced. And I’ve also got a camper tour for you on my latest YouTube channel. Click here to watch!

Check out my online courses to spark your creativity and upgrade your joy, starting today!


10 Best Statement-Making Fabrics from Spoonflower