
How to Create a Colorful Gallery Wall Makeover (Even If You’ve Never Done One Before)
If you’ve been dreaming of a colorful gallery wall makeover but keep putting it off because you’re not sure how to start — I get it. I had never done one before either. I kept wondering if there was a formula, a right way, a secret method I was missing. And because I couldn’t answer those questions, I just didn’t start. Sound familiar?
That’s exactly why so many beautiful walls sit bare for years. But friend, I’m here to tell you — you don’t need a formula. You need a little courage, a lot of frames, and the willingness to trust your eye. Let me show you exactly how I did mine.
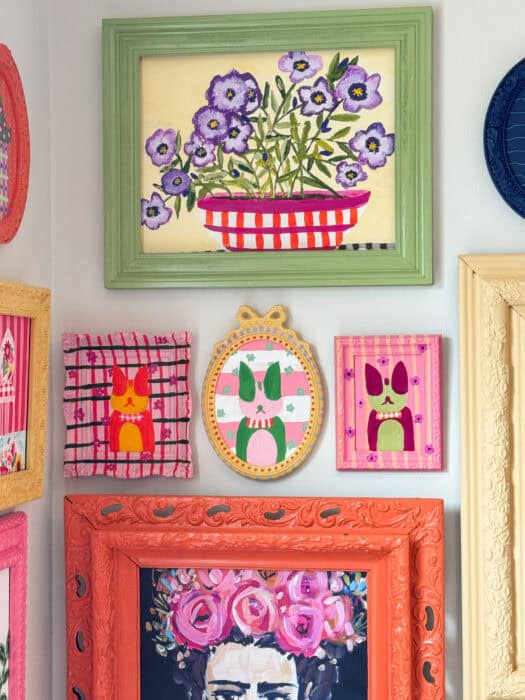
Step 1: Choose Art You Actually Love
This was my first and most important decision, and I want you to hear it clearly: I only hung prints and paintings that I genuinely loved.
No fillers. No “this will do.” No artwork I felt lukewarm about just to fill a space.
I had a running list of prints I’d been wanting for a while — pieces I’d bookmarked and admired but never had a place for. This colorful gallery wall makeover finally gave me permission to buy them. Another print was one my daughter gave me a few years ago and the rest I painted. I didn’t stress about whether they would “go together,” because I already knew the real magic was going to happen in the frames — specifically, in the colors I painted each one.
The art itself? It just needed to make my heart happy.
Tap below to see the pieces I purchased:
Step 2: Hunt for Frames Everywhere (and Keep It Cheap)
This is where the colorful gallery wall makeover really gets fun. I sourced frames from everywhere:
- Antique malls
- Junk stores
- Facebook Marketplace
- Amazon (yes, new frames work too!)

I purchased these on Amazon.
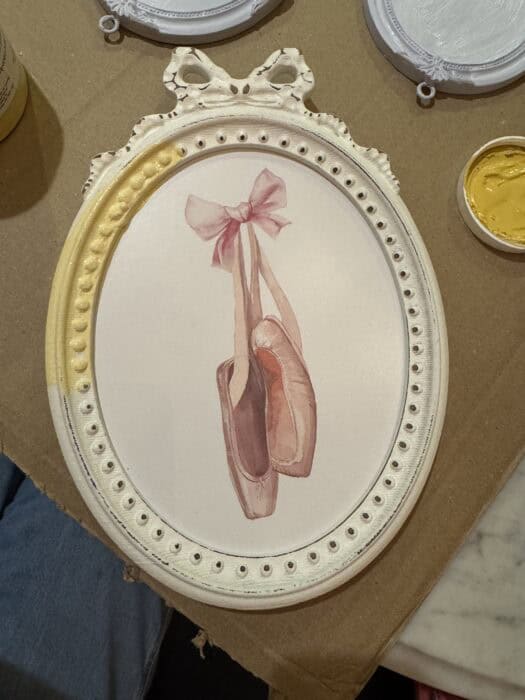
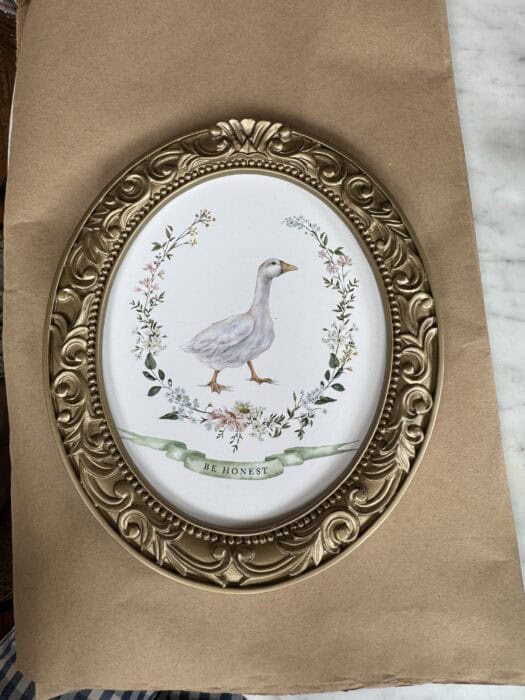
Here’s a little secret — I even bought a few pieces that already had paintings in them, ones I had zero attachment to, just because I loved the frame’s shape or style. I painted right over the art inside and never looked back.
I purchased these all at Hobby Lobby to paint over.


My only rule for every single frame: keep it cheap. Most of mine ranged from $2 to $30, and several I already had on hand. Nothing exceeded that range. When you’re painting and styling the frames yourself, you don’t need to spend a fortune. The transformation is in what you do with them, not what you paid for them.
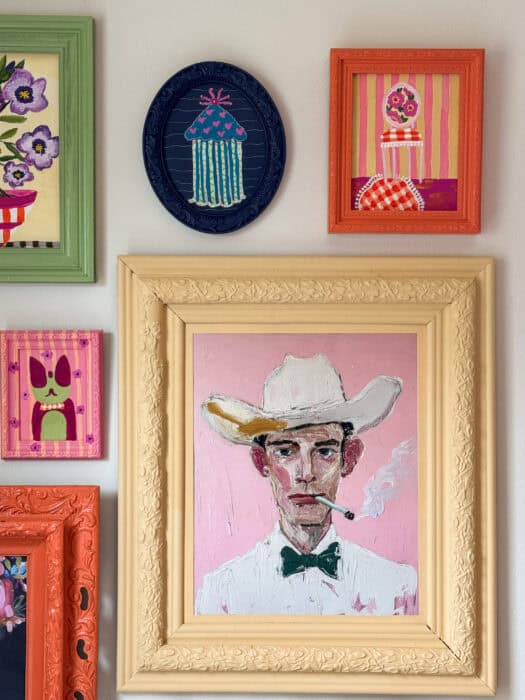
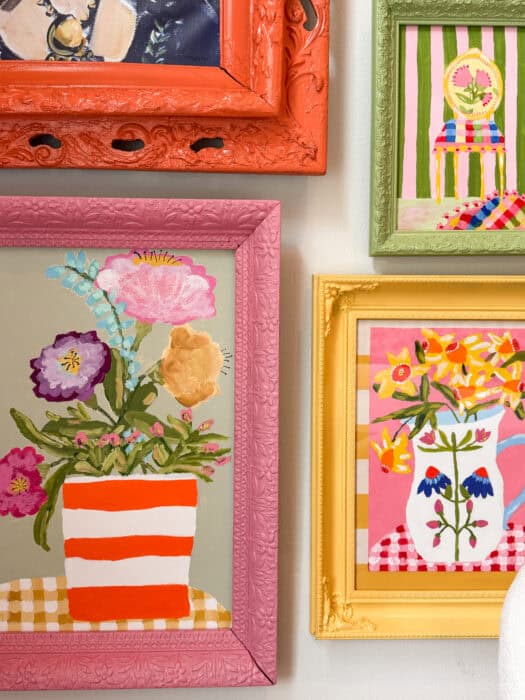
Step 3: Paint the Frames to Pull Color From the Art
Here’s where my colorful gallery wall makeover really came to life — and where my design formula kicked in.
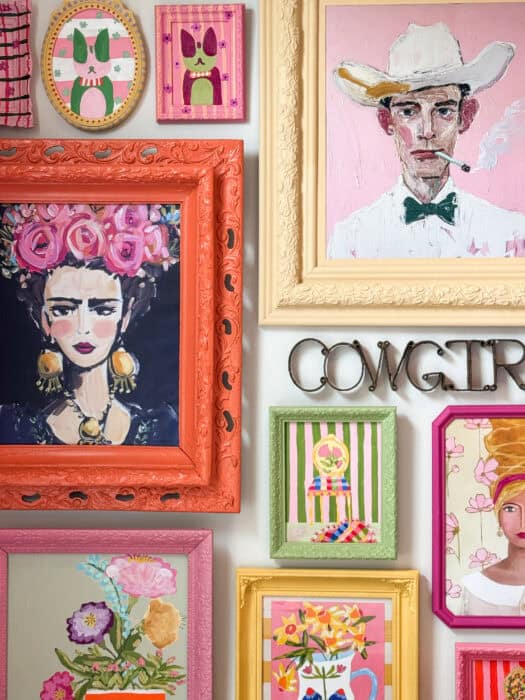
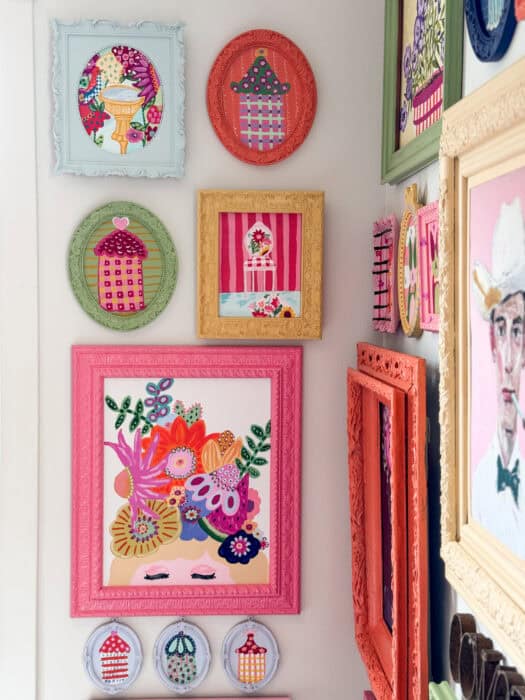
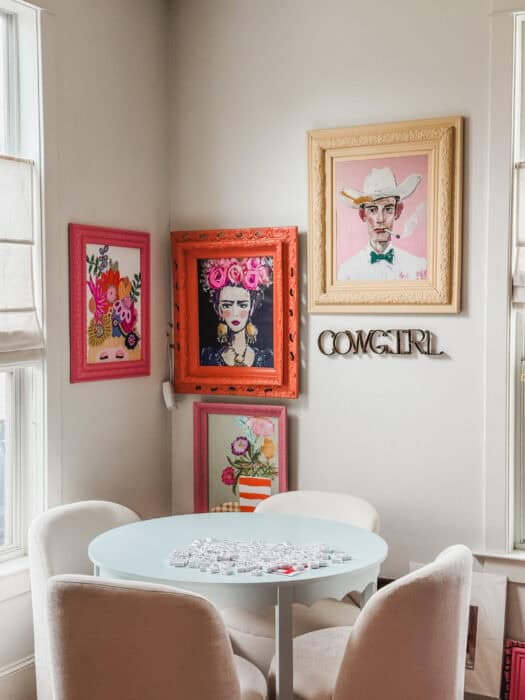
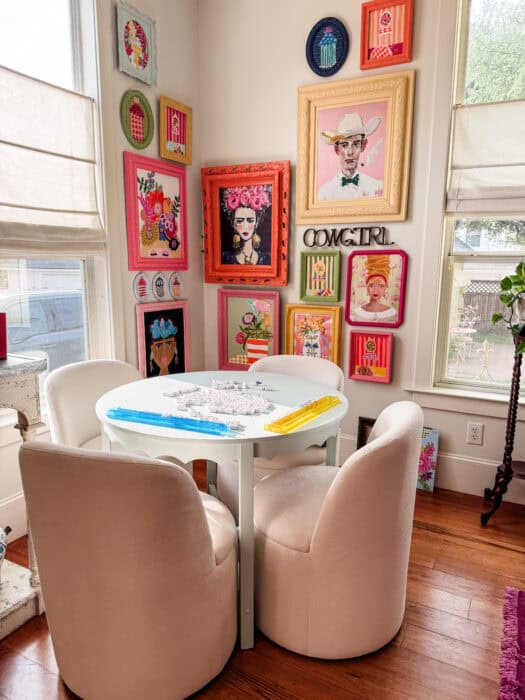
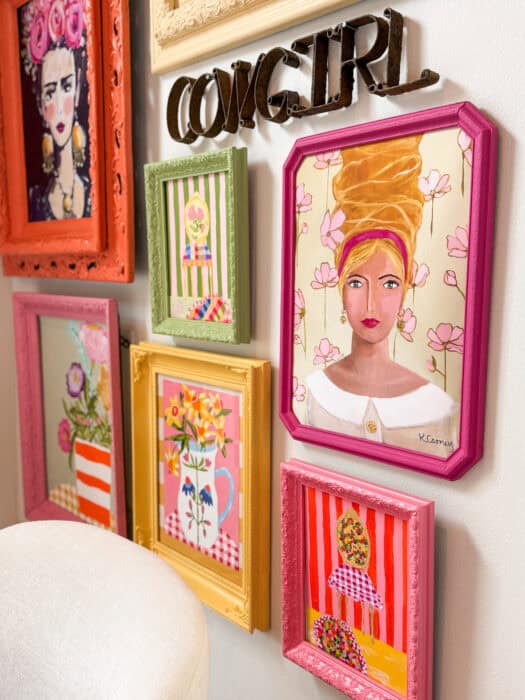
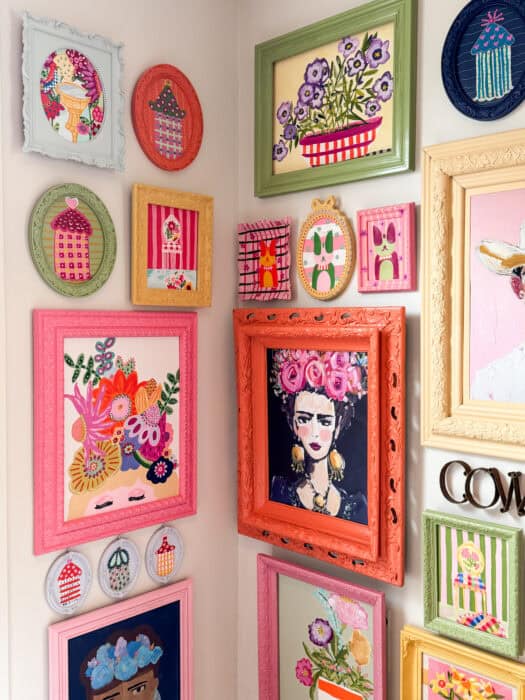
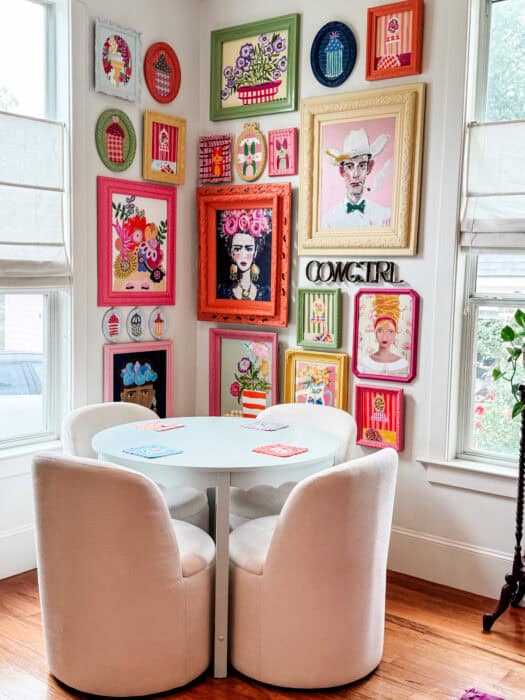
Rather than choosing one frame color (which I’ve seen done beautifully, but wasn’t right for my space), I went with a whole variety of colors that already existed in my living room: pinks, yellows, greens, blues, and orange. The key was pulling a specific color from within each print and using it on that print’s frame. It ties everything together without making it feel matchy-matchy. It feels collected, intentional, and full of personality.
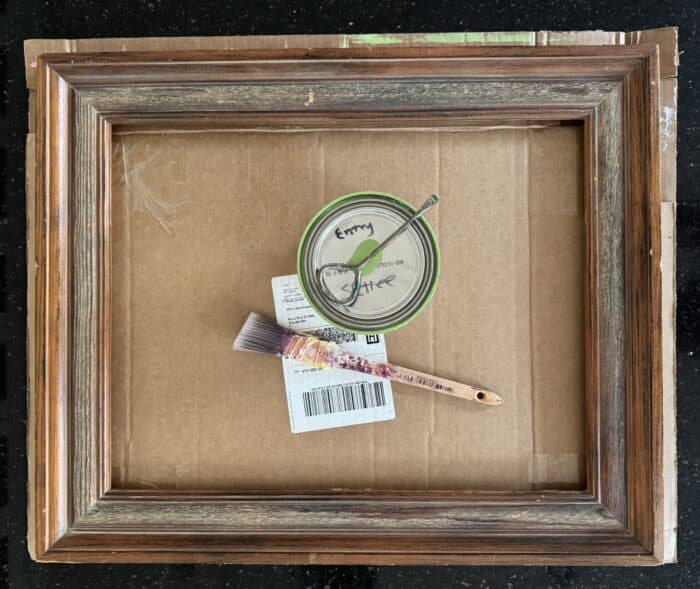
For the actual painting, I used what I had on hand:
- Benjamin Moore Advance paint on many of the frames — if the frame had a shiny finish, I primed it first with Stix primer before painting
- Fusion Mineral Paint on the others
Both work beautifully on frames. The finish, the coverage, the durability — no complaints. The only rules I followed were: tie the color to the print, make sure it works with the room, and keep a variety so the wall feels layered and rich.
Step 4: Hang One at a Time — And Trust Your Eye
This is where I’m going to challenge everything you’ve ever read about how to hang a gallery wall.
You’ve probably seen the advice: lay everything out on the floor first. Trace the frames on paper. Map it all out before you touch the wall.
I tried thinking about it that way. And I realized pretty quickly — that approach was not going to work for me. No amount of planning on the floor was going to tell me how it would feel on the actual wall, in the actual room, in real light.
So instead, I did this:
I started with one frame. Got the print, painted the frame, hung it on the wall. Then I stood back and looked at it.
If it felt right — great. I moved to the next one.
If it didn’t look right — I grabbed the spackle, filled the hole, and rehung it somewhere else. No drama. No big deal. I made a decision early on that I was not going to make a big deal out of a little spackle. I wanted it to look right more than I wanted to avoid a few extra nail holes.
I kept going, one frame at a time, standing back after each one, letting my eye guide me. I moved things around a lot. I used a lot of spackle. And slowly, the wall started to become something I loved.
The Secret to a Gallery Wall That Actually Works
Here’s what I came to understand by the end of this project:
Your eye knows. You don’t need a formula. You don’t need everything measured perfectly. What you need is to be willing to stand back, look honestly, and trust what you’re seeing. If something feels off, move it. If something feels right, keep it. It really is that simple.
And the art? The frames? They should reflect you — your colors, your taste, your joy. This is your home. The only person you need to please is yourself.
Don’t let the fear of making a mistake keep you from a colorful gallery wall makeover that could make you smile every single day. The holes are fixable. The spackle is cheap. The joy you’ll feel when it’s done? That’s the whole point.
I’m so glad I finally went for it. And I really hope you will too.
Have you been putting off a gallery wall in your home? Drop me a note and tell me what’s been holding you back — I’d love to hear!
This makeover is part of my overall living room refresh using a new game table and some great swivel chairs. To see the recent settee makeover in the room, tap here.

Check out my online courses to spark your creativity and upgrade your joy, starting today!


10 Best Statement-Making Fabrics from Spoonflower