How to Create Christmas Chandelier Decor with DIY Painted Ornaments
Looking for unique Christmas chandelier decor ideas? This colorful DIY chandelier filled with painted ornaments and layered ribbon completely transformed my dining room for the holidays.
In this post, I’m sharing a simple step-by-step tutorial showing you how to paint clear ornaments, how to hang them from your chandelier, and how to style your table to match for a festive, cohesive Christmas look.
Below, I’m walking you through exactly how I painted the ornaments, how I hung them from my chandelier, and how I styled the rest of the room to match to get this amazing Christmas chandelier decor. This project is easy, affordable, and the perfect pop of Christmas color.
DIY Painted Ornaments: Step-by-Step Tutorial
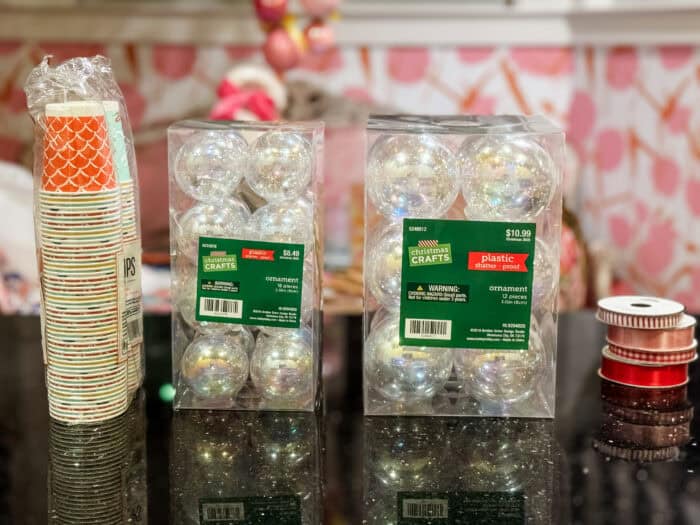
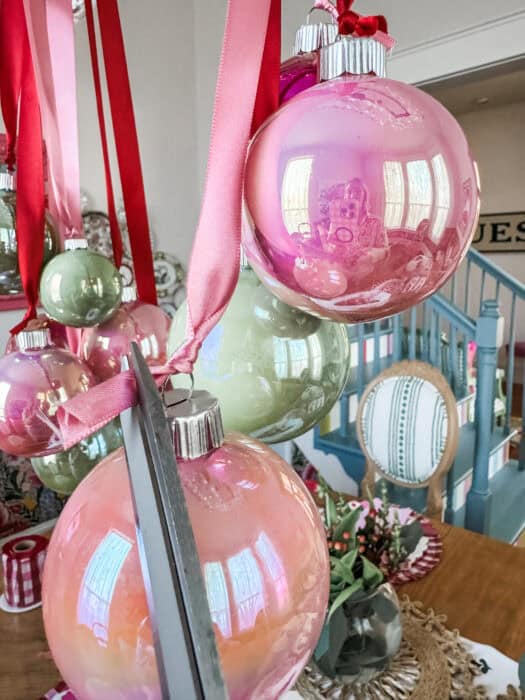
I used clear plastic ornaments from Hobby Lobby, Michaels, and the Dollar Store—some iridescent, some plain. Both work beautifully.
Supplies
-
Clear plastic ornaments (various sizes)
-
Interior or exterior house paint (don’t use craft paint, it won’t cover and drain as well)
-
Small funnels
-
Disposable cups
-
Ribbon (satin and gingham)
-
Scissors
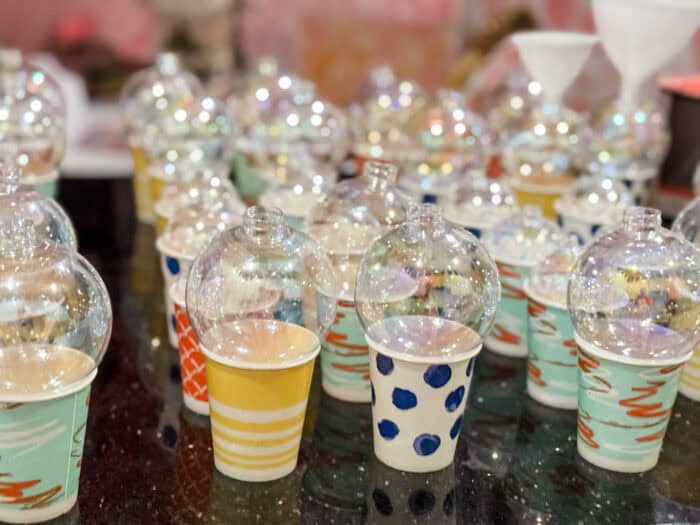
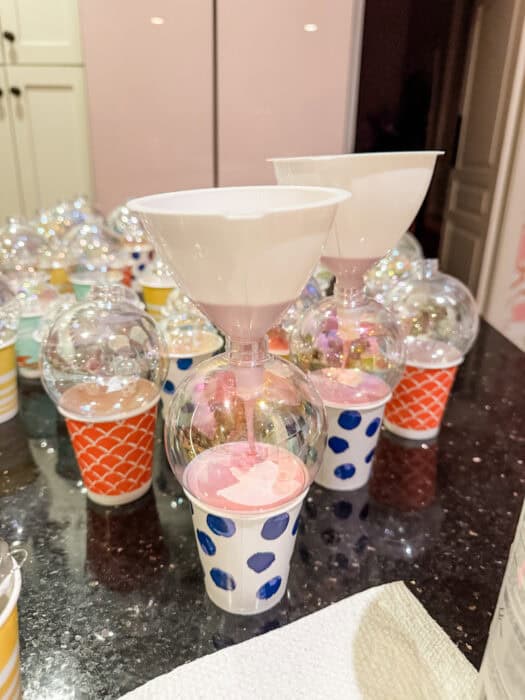
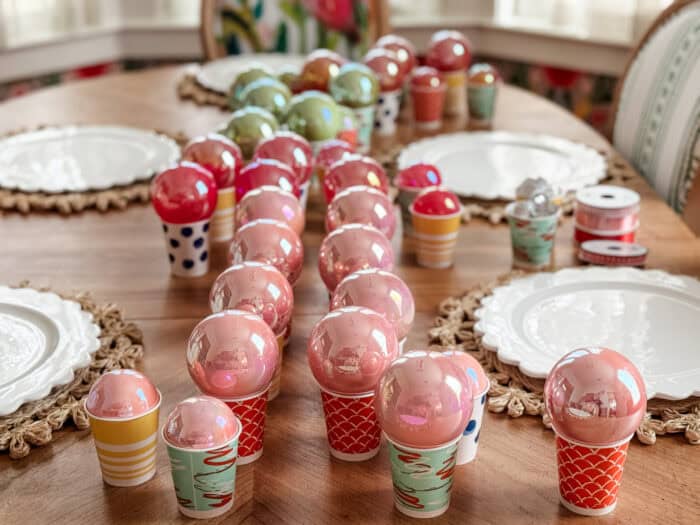
1. Set Up Your Draining Stations
Find small disposable cups that your ornaments can sit on upside down. These will catch excess paint as it drains.
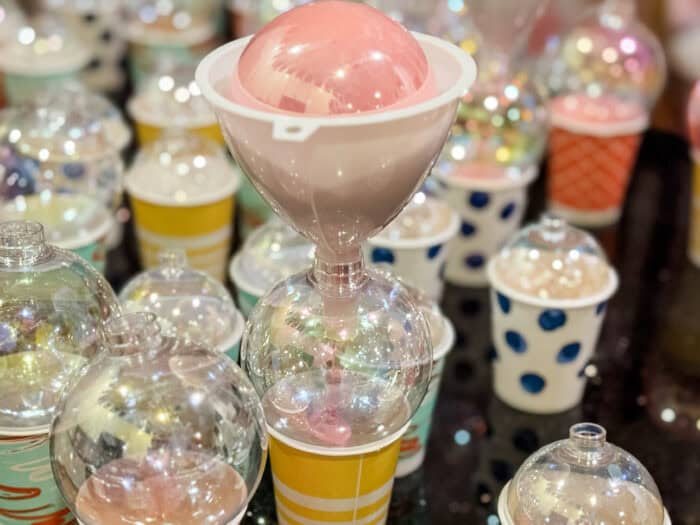
2. Insert a Funnel Into the Ornament
The funnel should fit snugly into the opening. This makes it easy to pour paint cleanly inside.
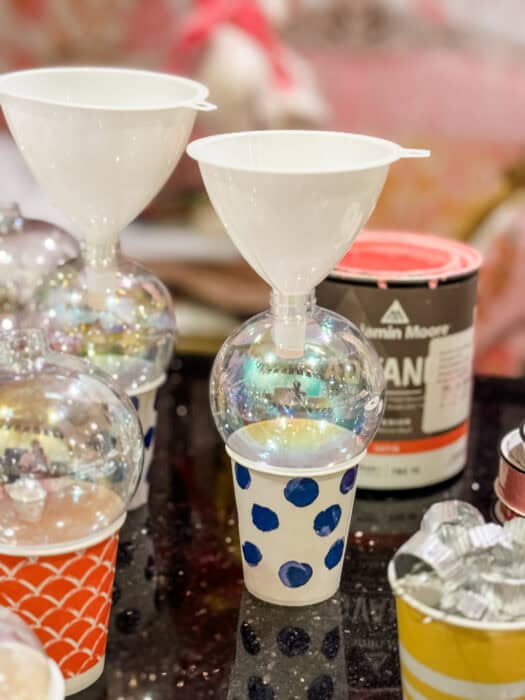
3. Pour in the Paint
Slowly pour your paint through the funnel into the ornament. I used colors that tie back to my home so everything feels cohesive.
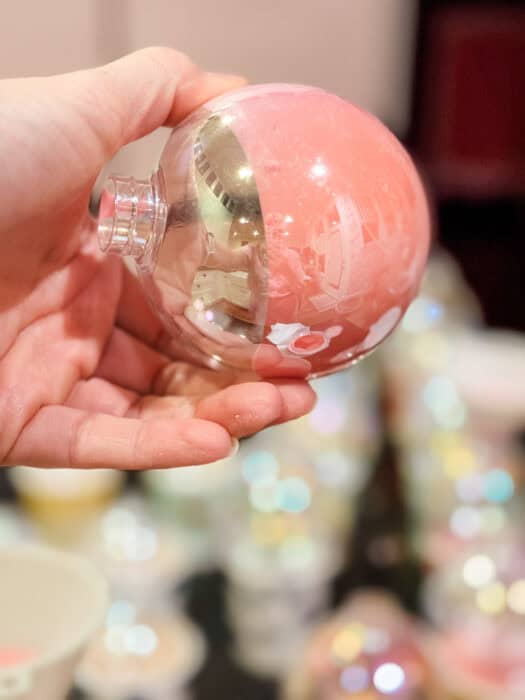
4. Swirl the Paint to Coat the Inside
Remove the funnel and rotate the ornament so the paint covers the entire interior. This gives the ornaments that smooth, glassy finish from the inside. If you use craft paint, this step will take forever to coat the inside of the ornament. My advice is to stick with any type of regular paint.
5. Drain the Excess
Turn the ornament upside down on a cup and let the extra paint drain out for 24 hours.
Tip: Sometimes I placed a funnel under the ornament and collected the drained paint to reuse in a second ornament!
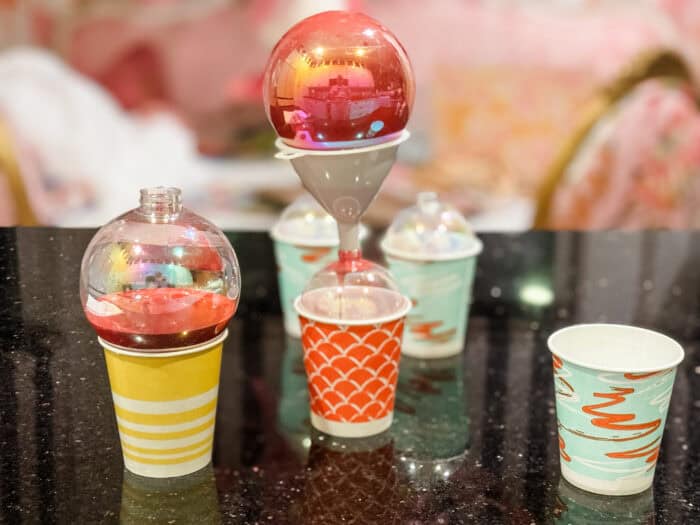
6. Flip and Dry
After draining for a day, flip the ornament right-side up and let it dry inside for another full day. Once completely dry, attach the ornament tops.
These painted ornaments turned out so pretty that I used them not only on the chandelier but also on all my Christmas trees and even my mantel.
How to Decorate a Chandelier for Christmas Using Ornaments
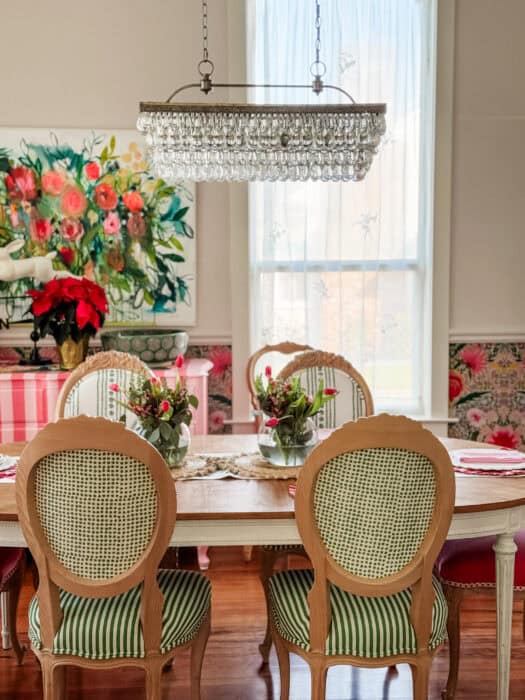
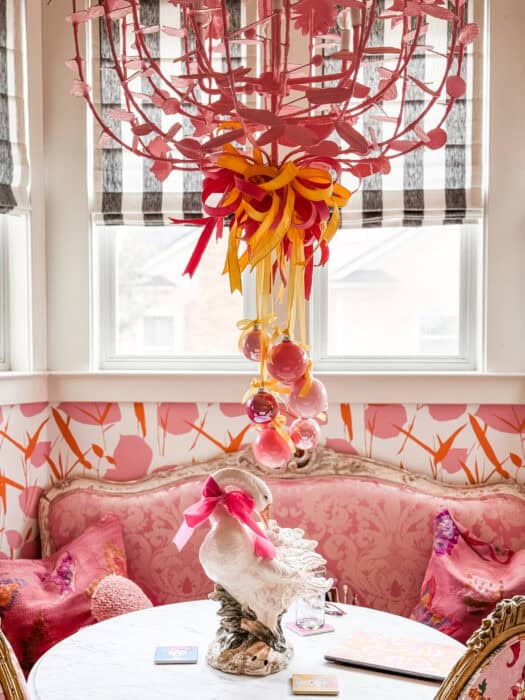
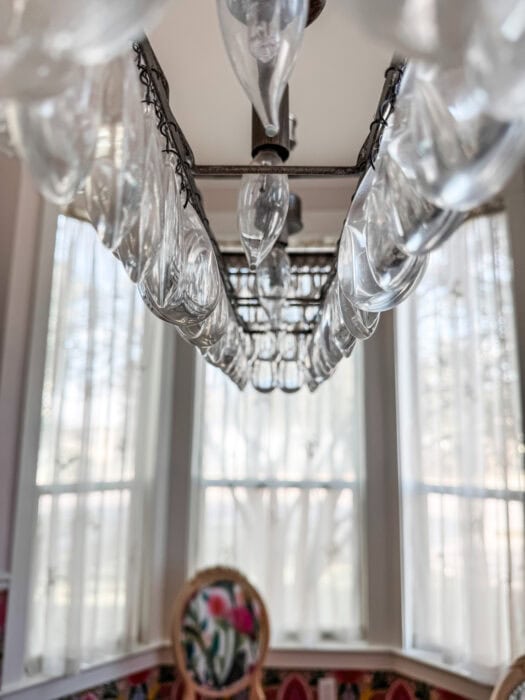
This is the before picture of my dining room. I got the idea to decorate the chandelier after my friend, Kim from @chicitsimple came to help me decorate for Christmas and helped me style my kitchen chandelier seen below.
This part looks complicated, but it’s actually the simplest (and most fun!) step.
Supplies
-
Painted ornaments
-
Satin ribbon
-
Gingham ribbon for mini bows
-
Wired ribbon (gingham + pink) for oversized bows

1. Cut Long Strips of Satin Ribbon
Each ribbon will hold two ornaments—one on each end.
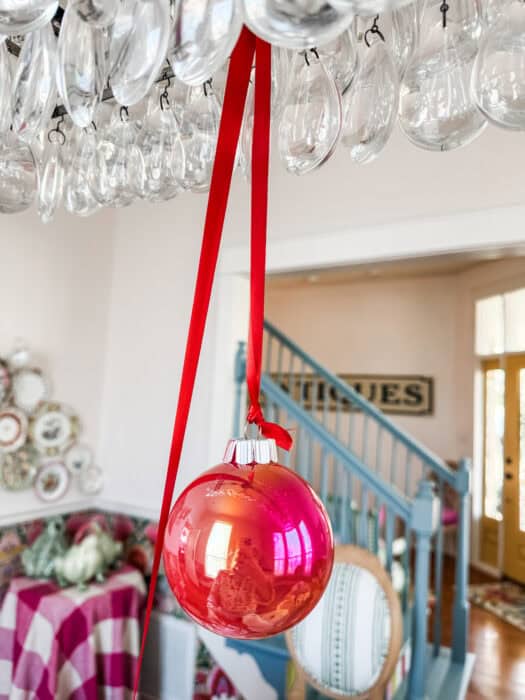
2. Drape the Ribbon Over Your Chandelier Bar
My chandelier has a bar underneath, so I draped each ribbon over the bar first.

3. Tie an Ornament to Each End
This creates a perfectly balanced hanging effect.
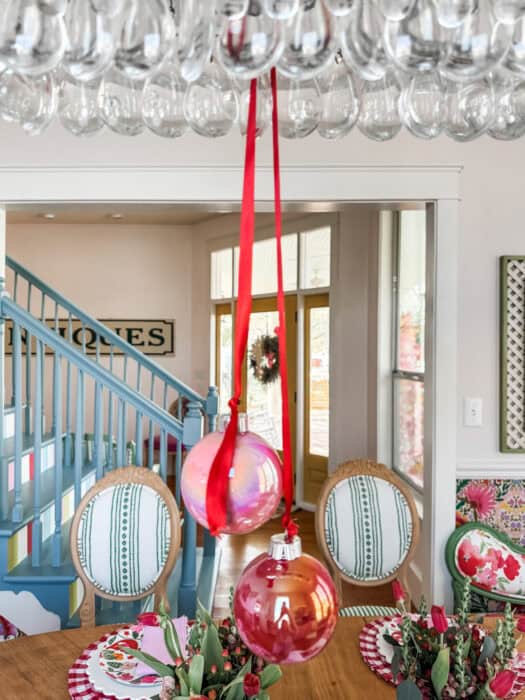
4. Adjust the Heights
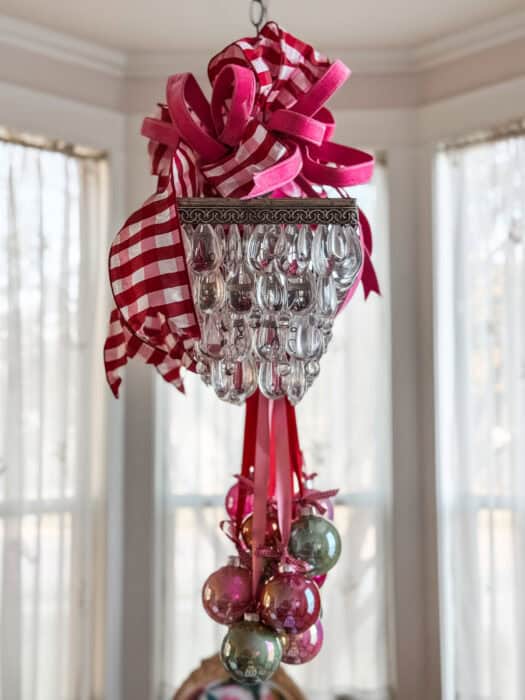
By gently pulling one end of the ribbon, you can stagger the ornaments at different lengths. I kept mine high enough so they wouldn’t obstruct anyone’s view at the dining table.
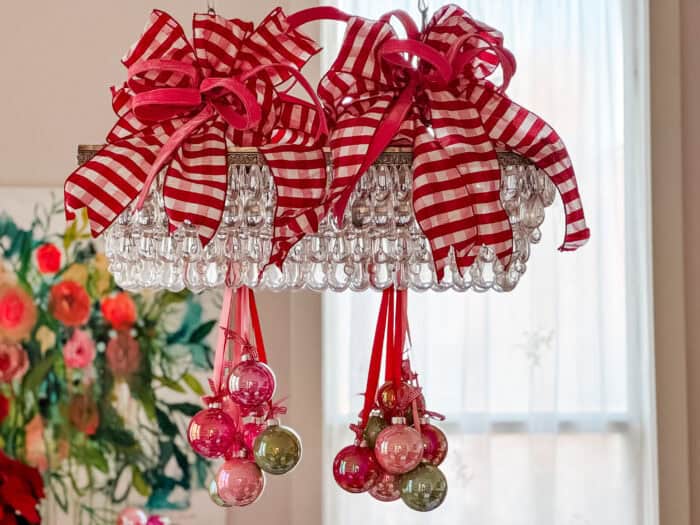
5. Add Gingham Bowties
Cut the tail of the tie and then tie a small red gingham bow at the top of each ornament for a sweet, classic Christmas touch.

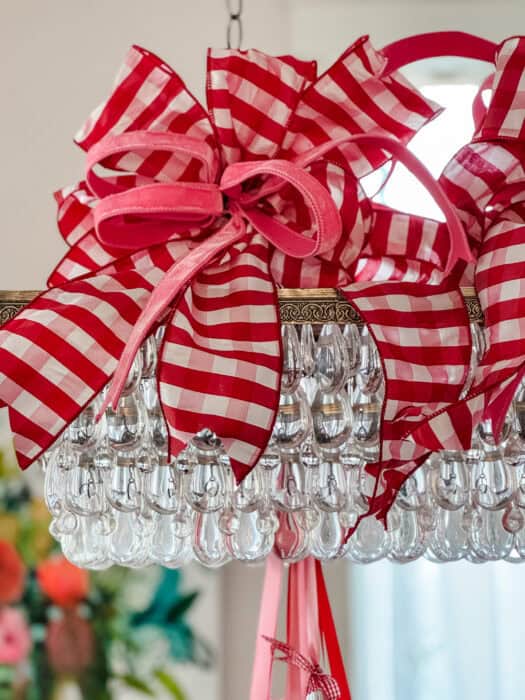
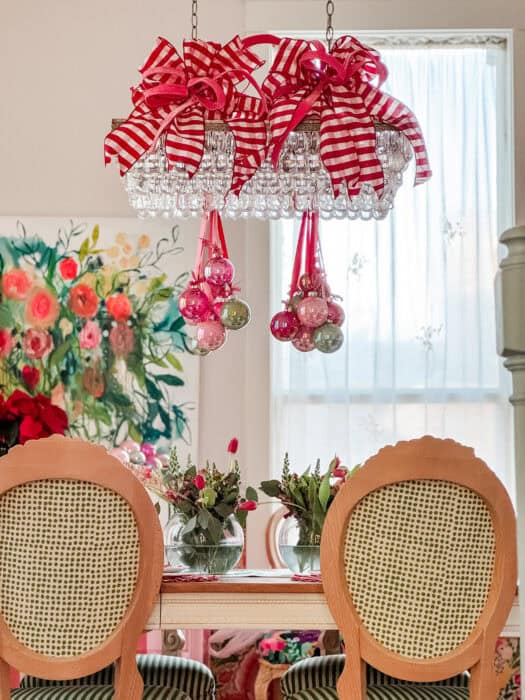
6. Finish With Oversized Wired Bows
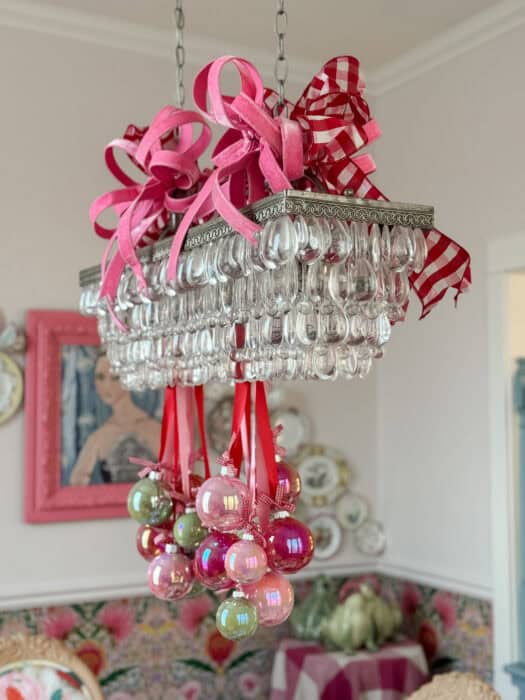
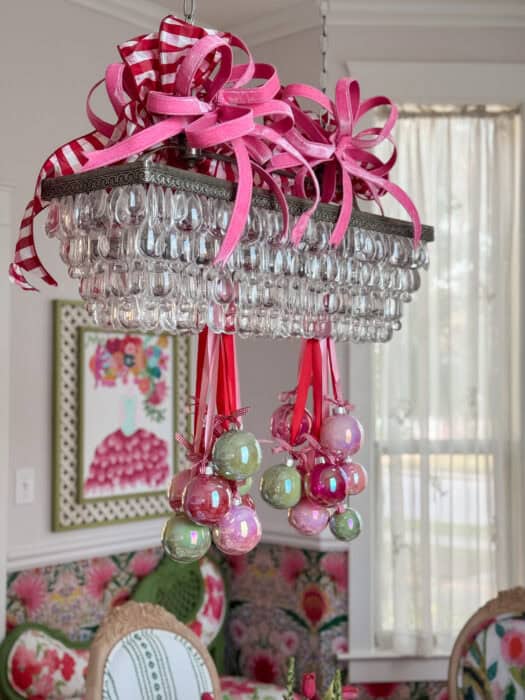
To make the whole chandelier feel festive and full, I created large bows using wide gingham wired ribbon and pink wired ribbon. I tied these to the top of the chandelier—front and back.
Styling the Dining Room for Christmas
To keep the look cohesive, I used simple, festive touches on the table that played nicely with the chandelier:
-
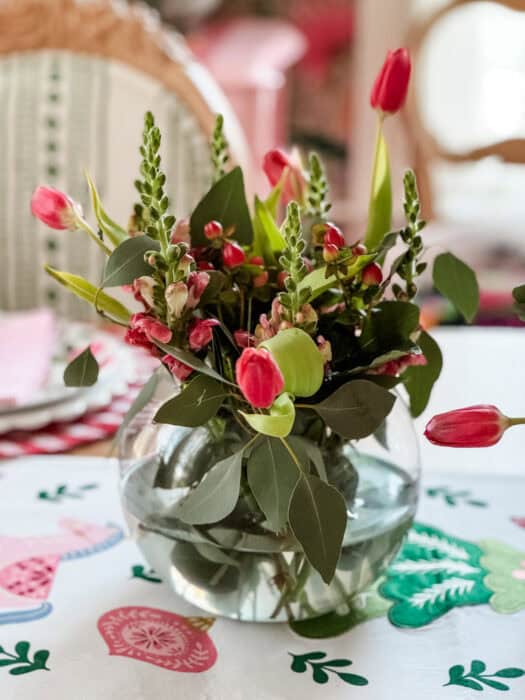
Fresh flower arrangements made with store-bought tulips, greenery, and snapdragons in pinks and reds
-
Red gingham placemats (found on Etsy)
-
Vintage pink napkins I scored at an estate sale years ago
- White plate chargers

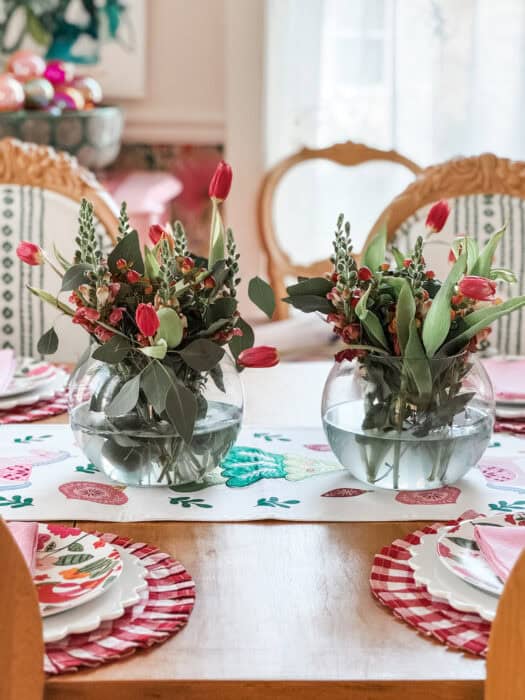
These small details echo the colors of the ornaments and ribbons without overwhelming the space.
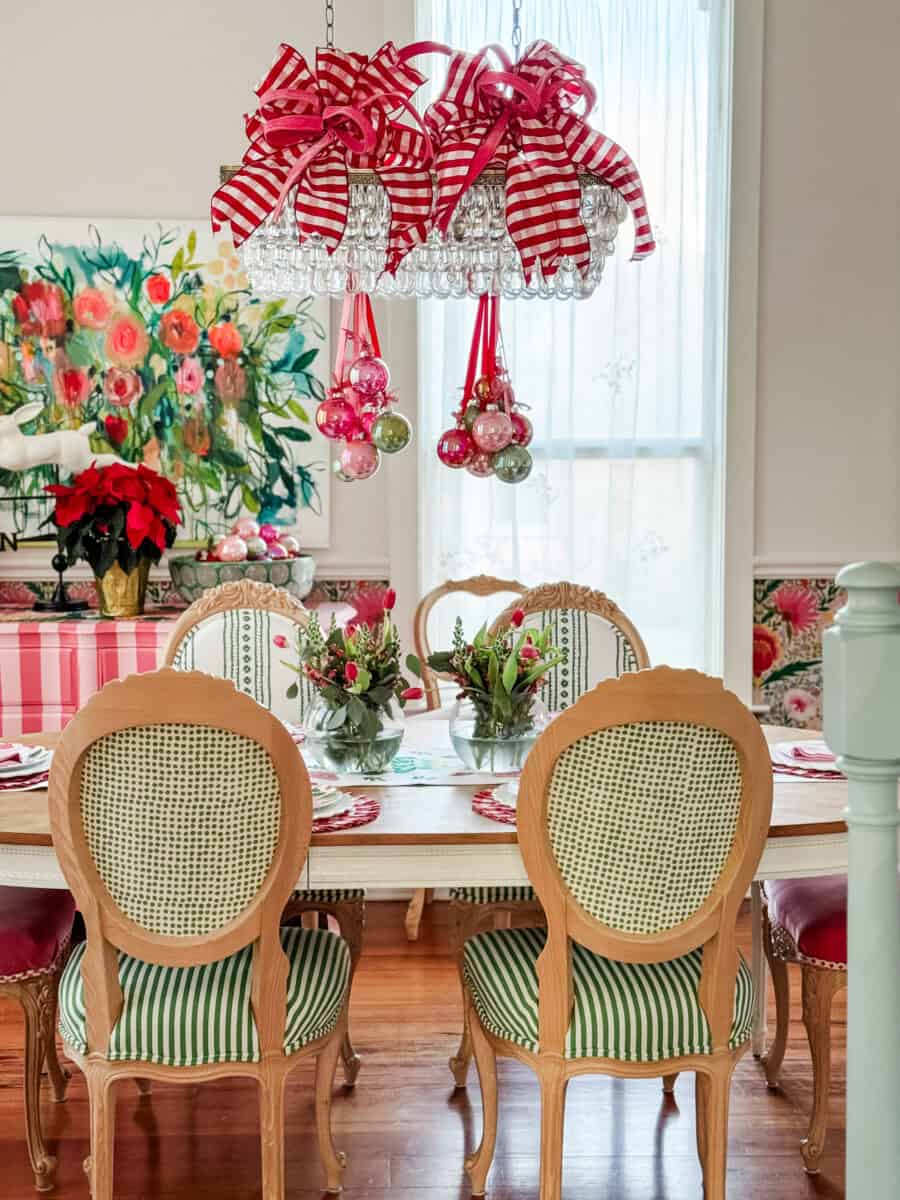
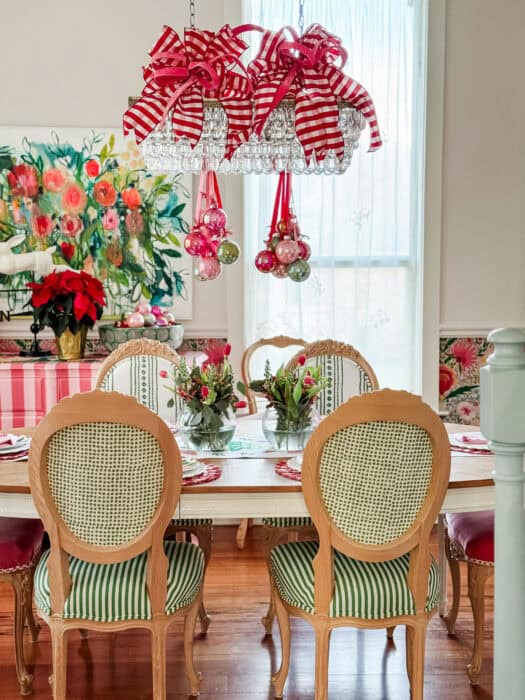
The Finished Look
The transformation is magical! The chandelier is full of color, shine, and movement, and it anchors the entire dining room. The painted ornaments tie back to the rest of the holiday décor in my home, and the bows add that cozy, whimsical charm I love.

If you’re looking for an easy but stunning holiday décor project, this Christmas chandelier decor is one you can recreate with just a few supplies and a bit of paint.
If you try it, tag me on Instagram @chairwhimsy—I’d love to see your version!

Check out my online courses to spark your creativity and upgrade your joy, starting today!


10 Best Statement-Making Fabrics from Spoonflower